
AssetSonar enables IT managers to get a consolidated view of resources utilized for a specific project with a project view interface. Organizations can get in-depth visibility on assets and resources used for different projects and can keep track of these resources if the projects go on for long periods of time.
With new IT initiatives and regular infrastructure updates, tracking disparate IT assets and peripherals can become a major challenge. AssetSonar’s project view enables you to link together all related resources such as IT assets, locations, and POs etc. to a project and get a transparent overview from a centralized platform.
Now let’s see the project view capability in action.
Enabling Project View
To enable the Project View setting, follow the pathway: Settings -> Company Settings & Add-ons -> Project View. Click ‘Enabled’ and then click ‘Update’ to save the setting.

A project can be linked to the following modules with a specific relationship:
- Users – multiple users to multiple projects
- Work Orders – multiple Work Orders to one project
- Purchase Orders – multiple Purchase Orders to one project
- Checkouts – multiple checkouts to one project
- Reservations – multiple reservations to one project
- Items – multiple items to multiple projects
- Carts – multiple carts to one project
- Locations- multiple locations to multiple projects
Creating a New Project
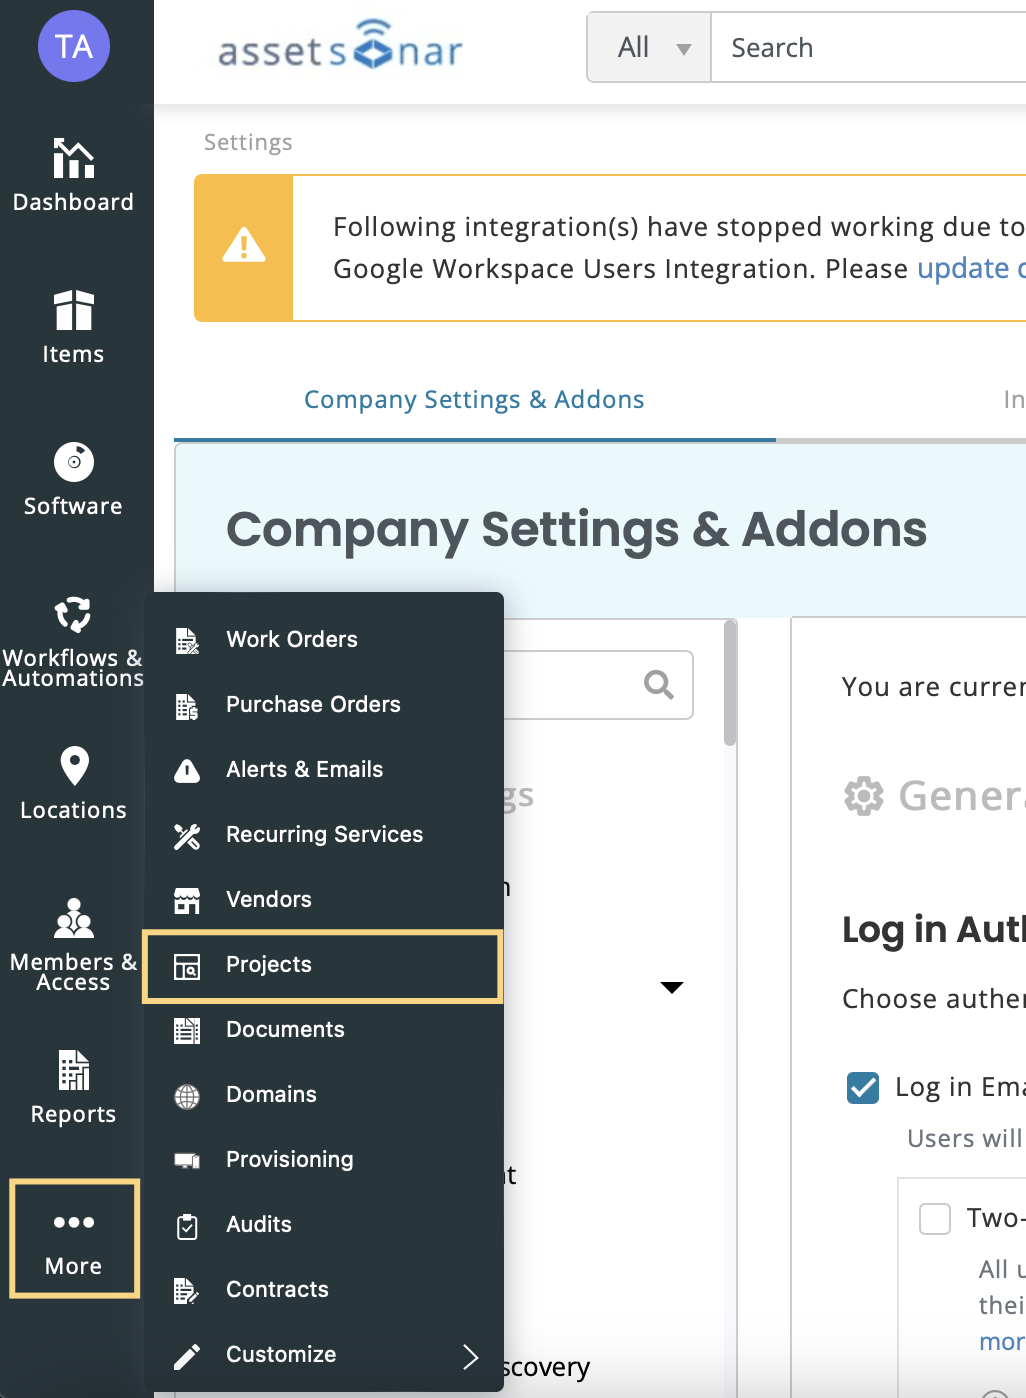
From the left navigation bar, go to ‘More’ and then go to ‘Projects’ as shown below:
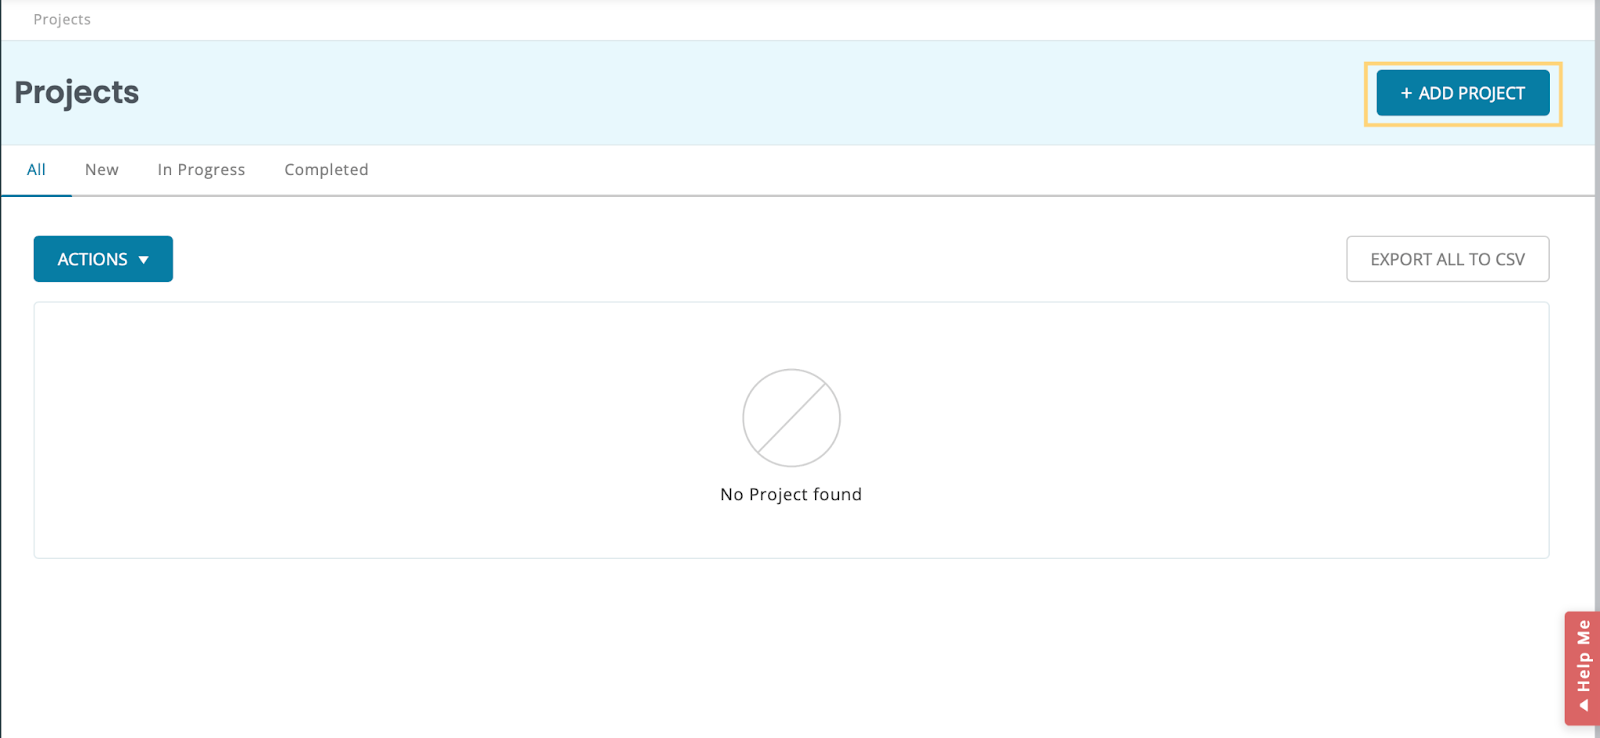
A new Projects listing page will open up from where you can add new projects by clicking the button on the top right.
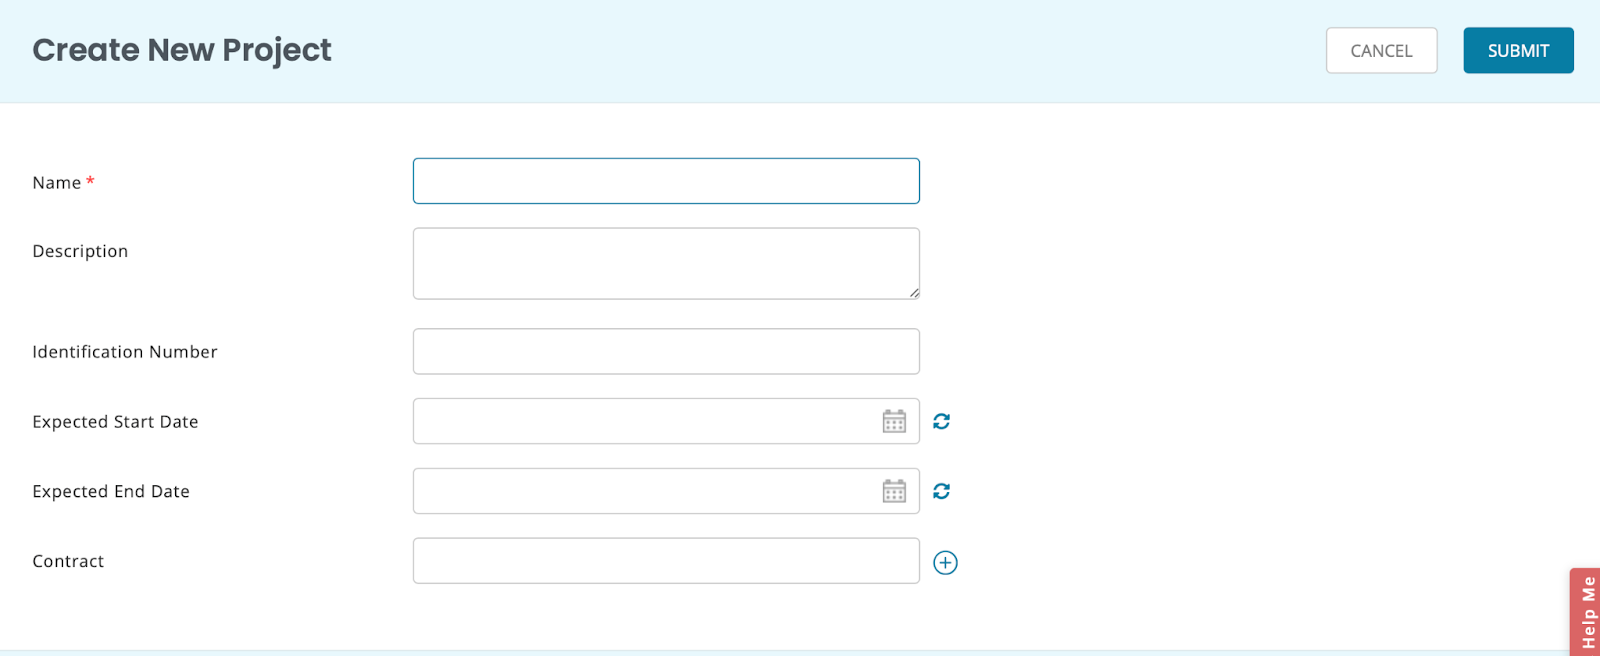
A new page will open up where you can add the basic information followed by linking the modules you want to be associated with that specific project.
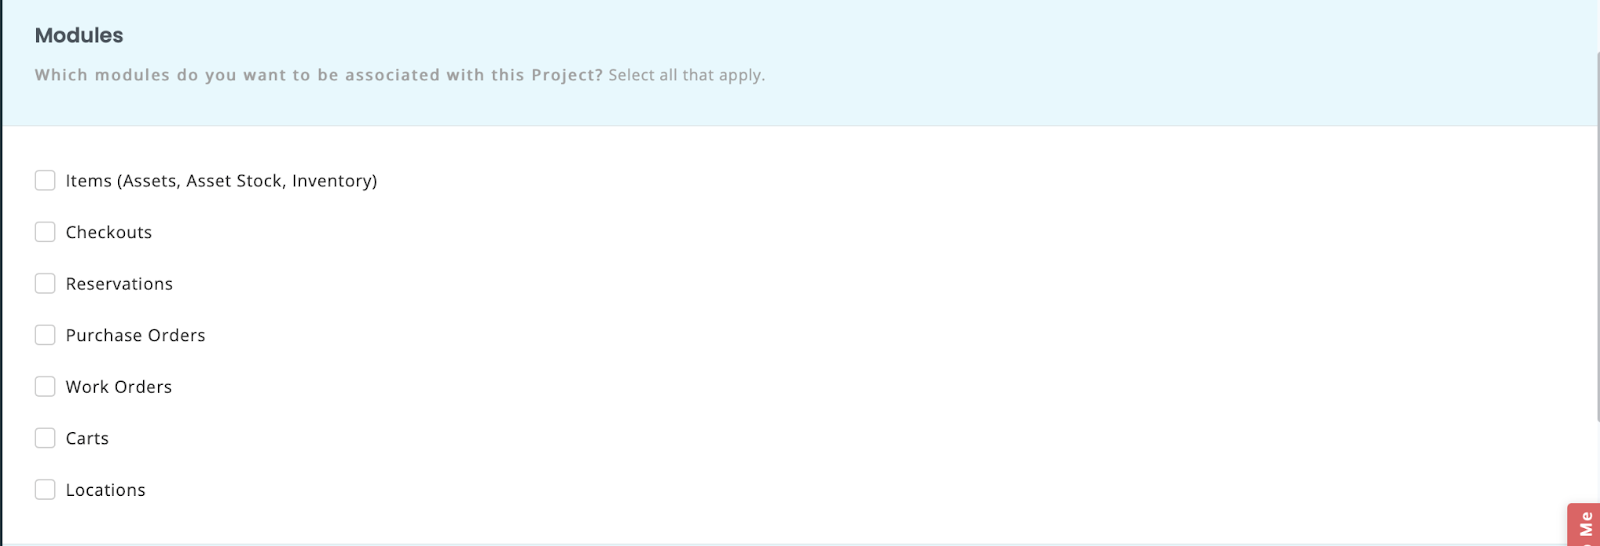
Please note that you can only add or remove modules when the project is being created. Once you have finished creating the project, you cannot add any new modules.
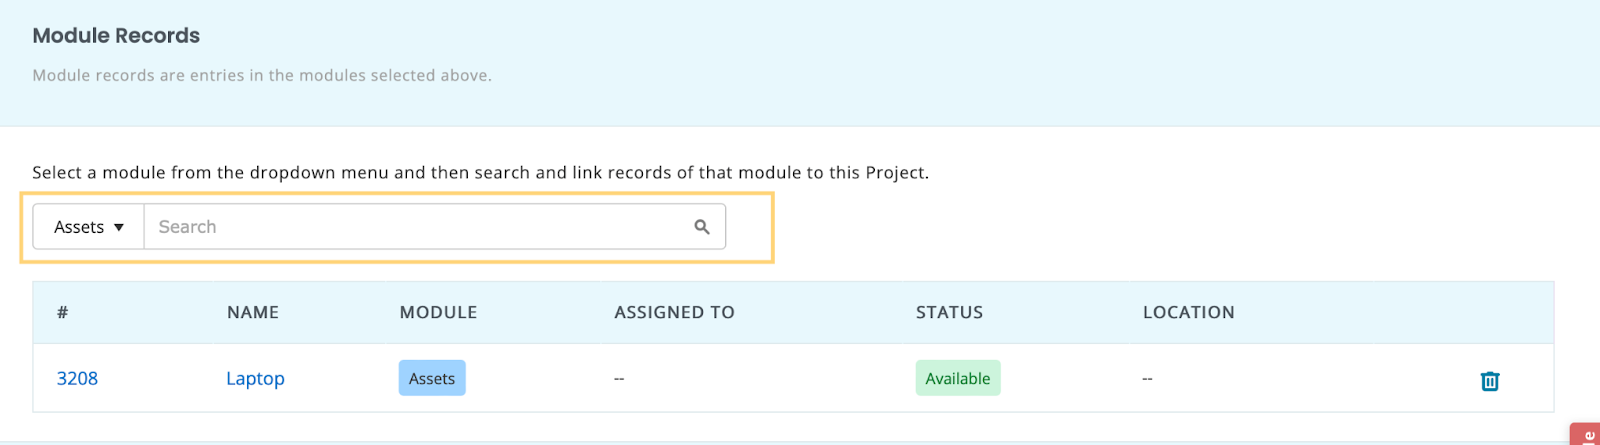
After choosing the modules, you can link the module records as shown below:
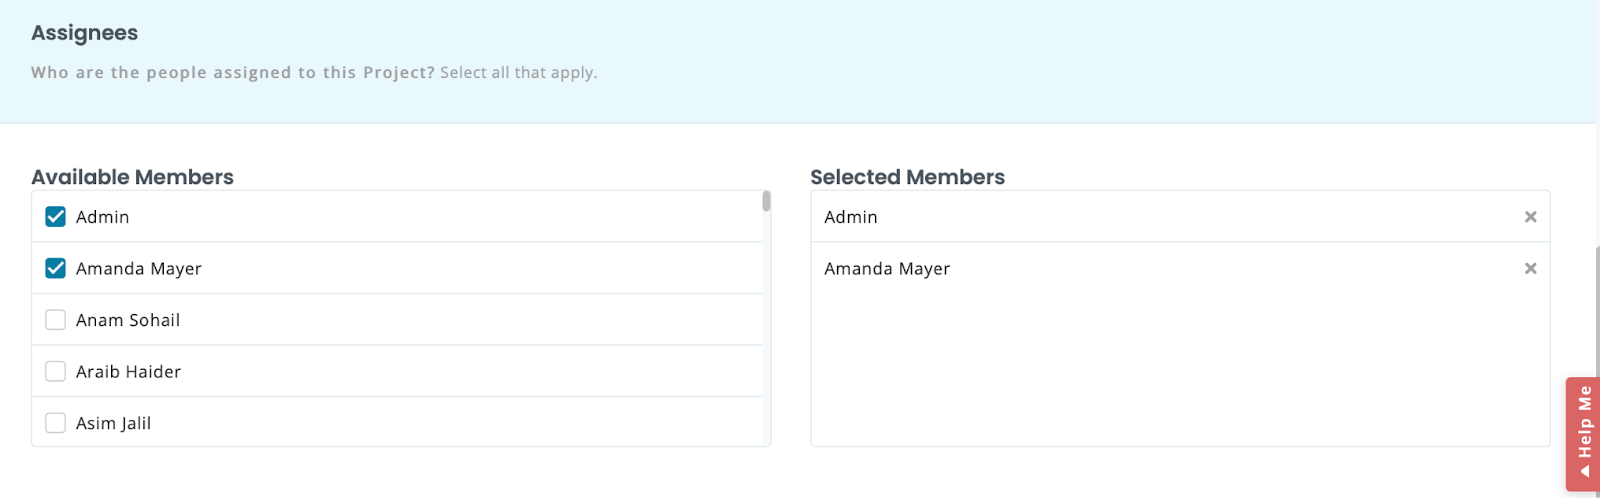
Now choose the users that you want to assign to this project and then click ‘Submit.
The project will be successfully created. Here is the detail page of the project we just created.
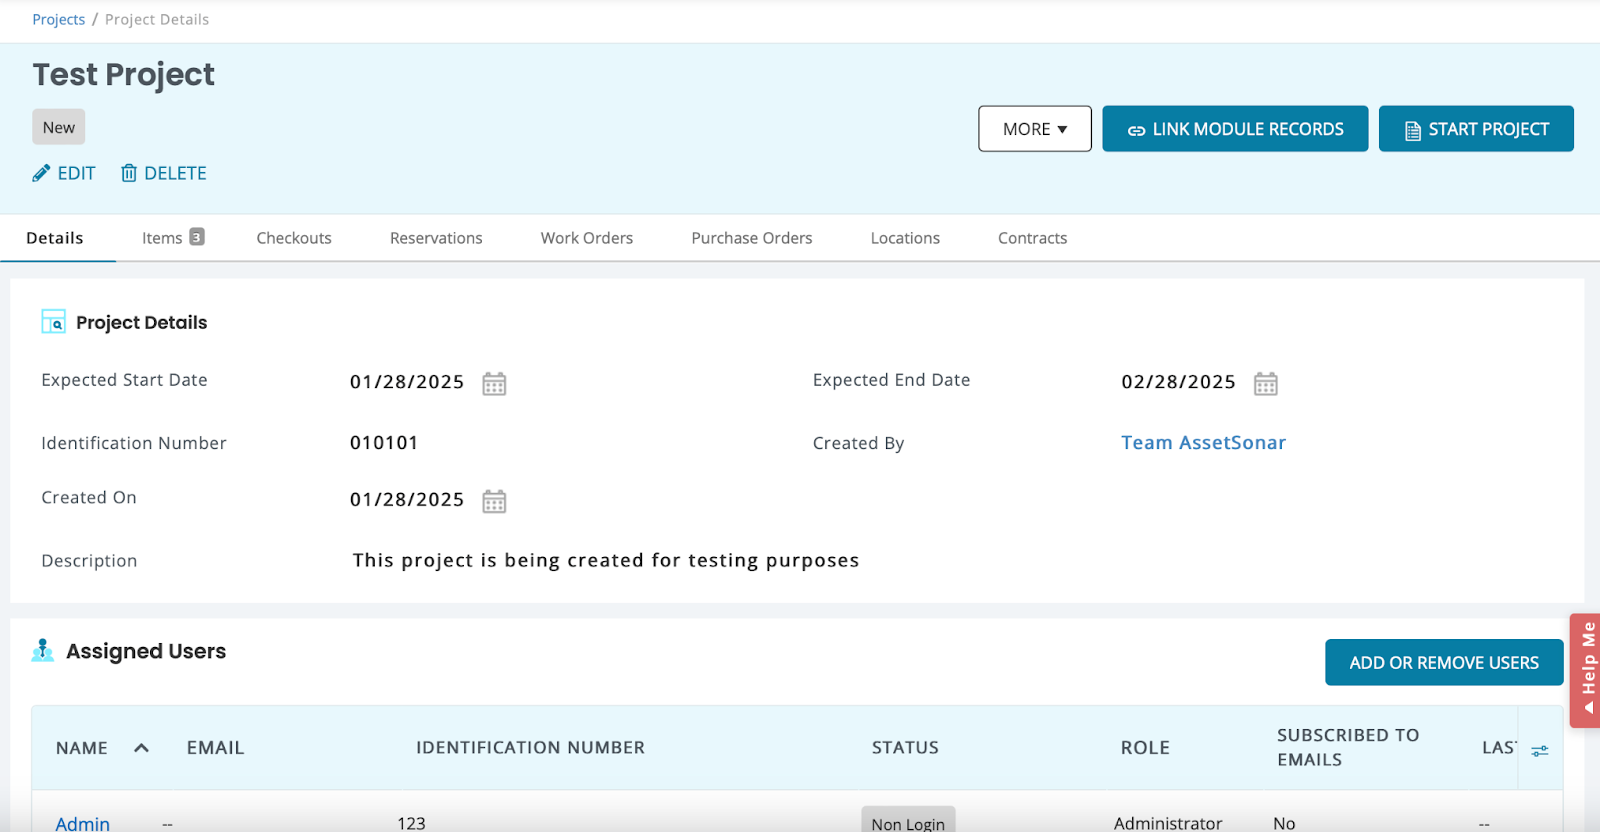
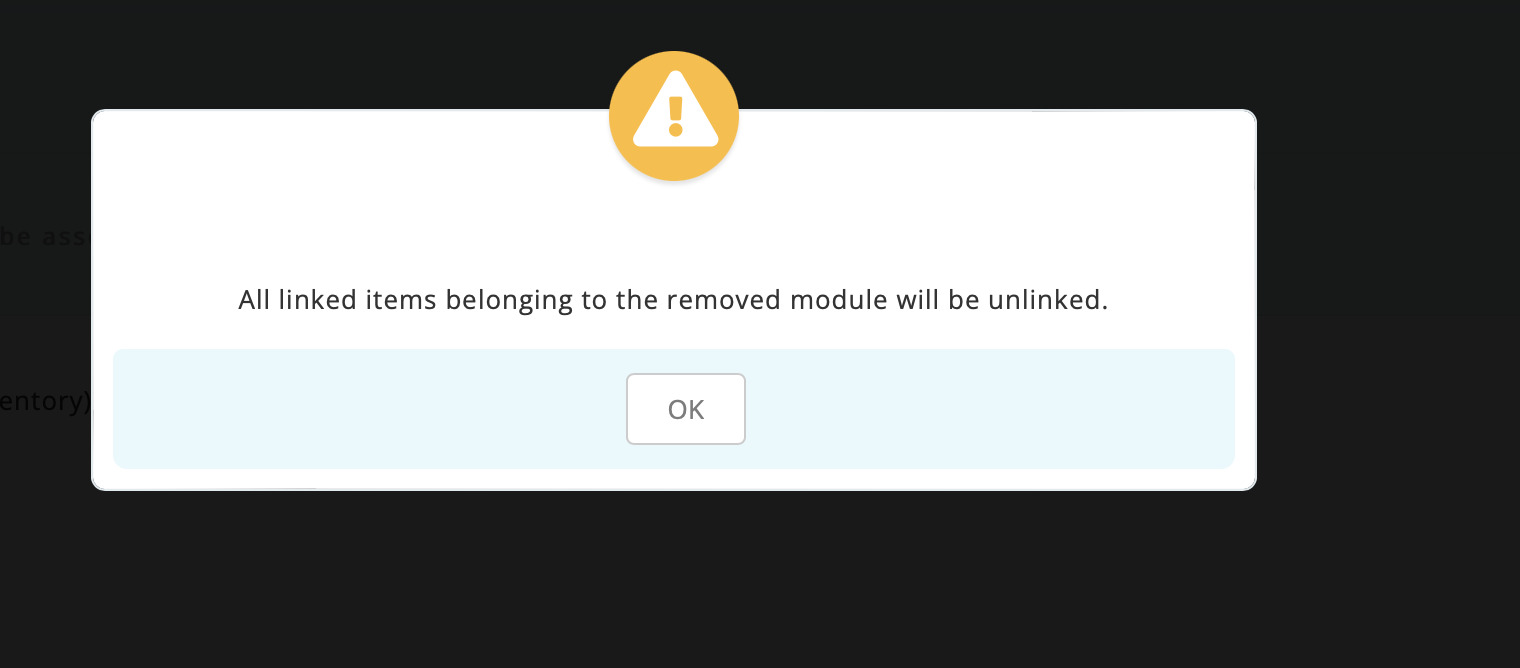
As you can see the project is in the ‘New’ state. This means that you can remove a module but doing so will remove all linked associations and a warning message will appear on the screen.
Now click on the ‘Start Project’ button on the project detail page to activate the project.
Action Modules in Projects
Next up, let’s see how you can take actions directly from the project that you just created.
To enable item checkout for a specific project, follow this pathway: Projects Detail Page -> Items tab -> Asset/Asset Stock.
From here you can mass checkout any assets you want.
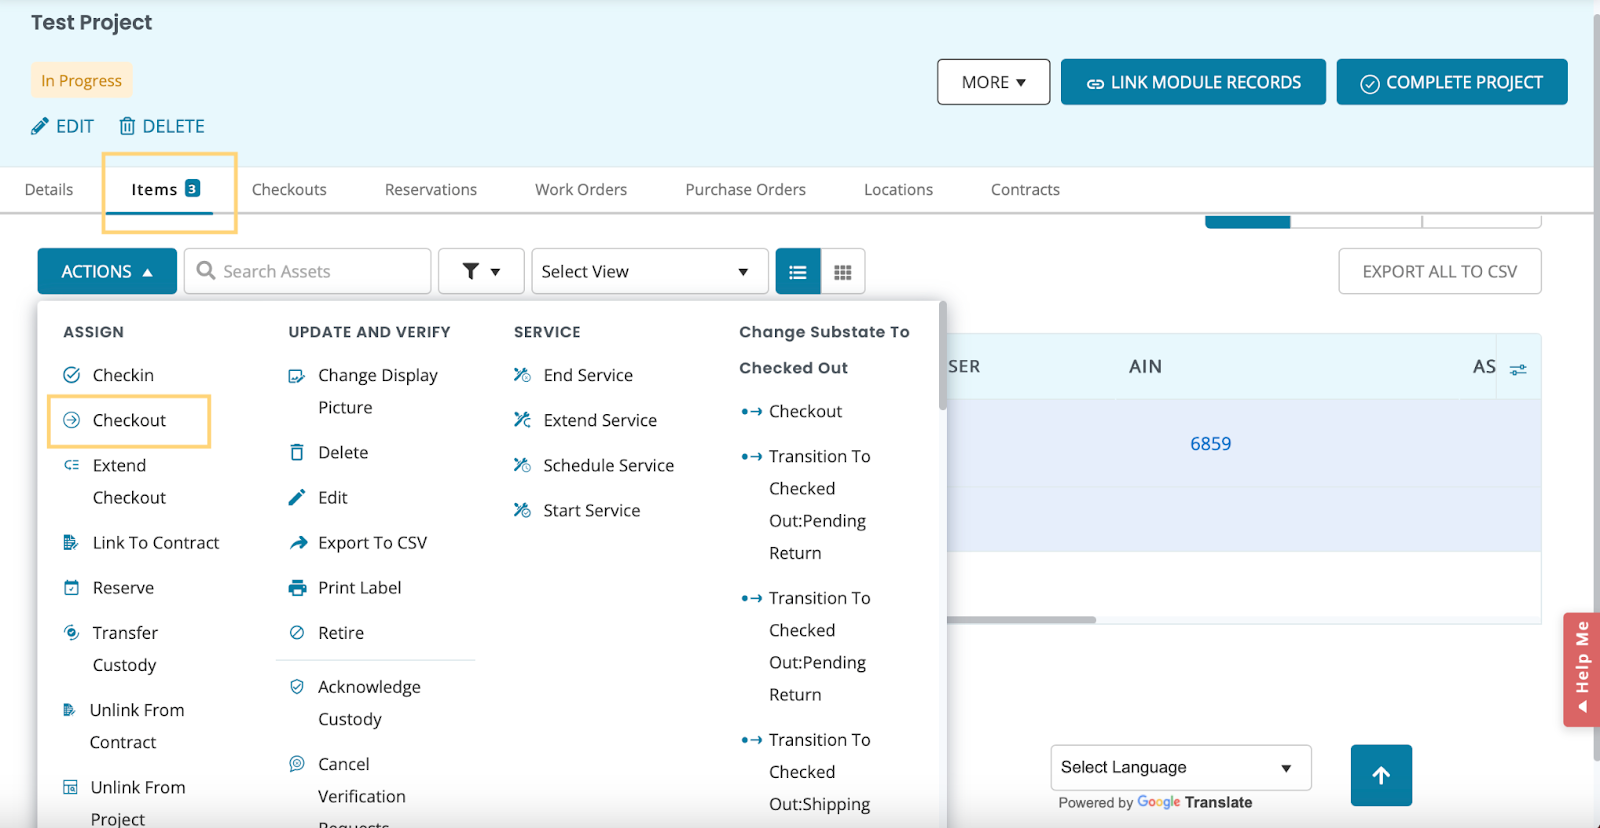
Clicking the ‘Checkout’ button will open up a new overlay prompting you to add associated users and the project. Here is a snapshot of the popup:
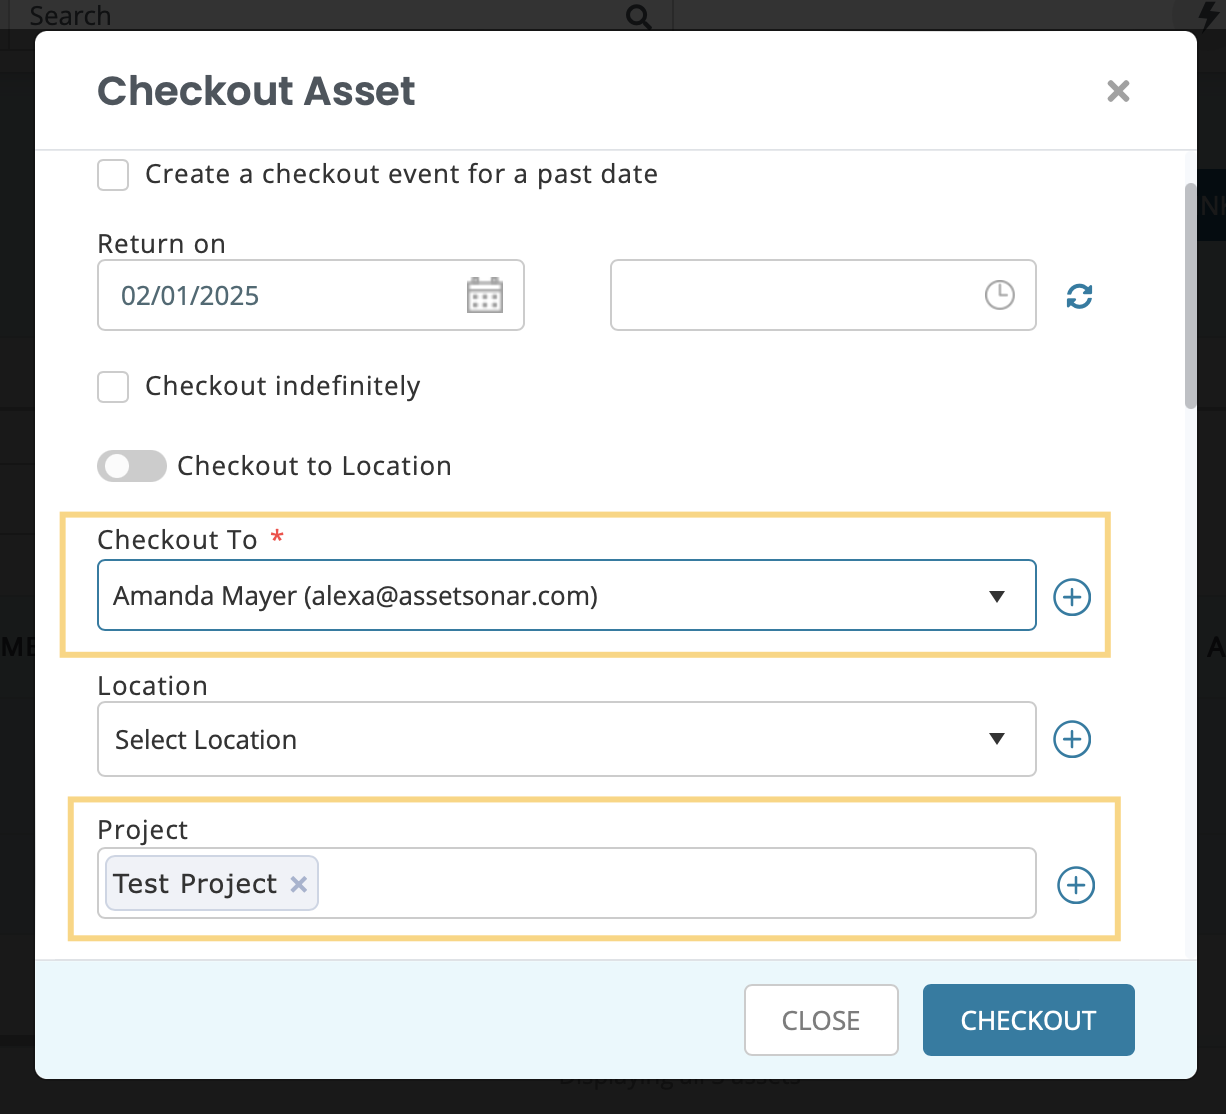
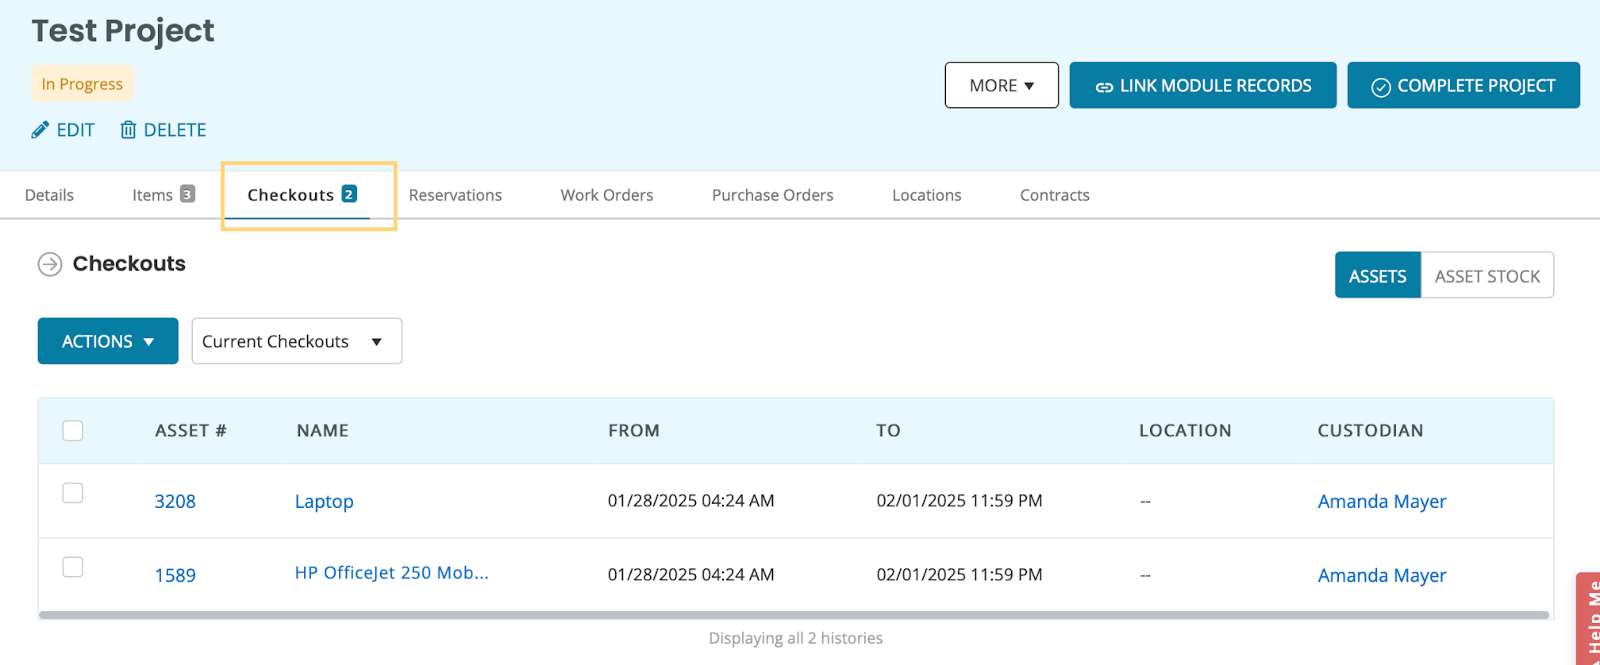
Click the ‘Checkout’ button and you’ll be able to view the checked out items under the Checkout tab on the Projects page as shown below:
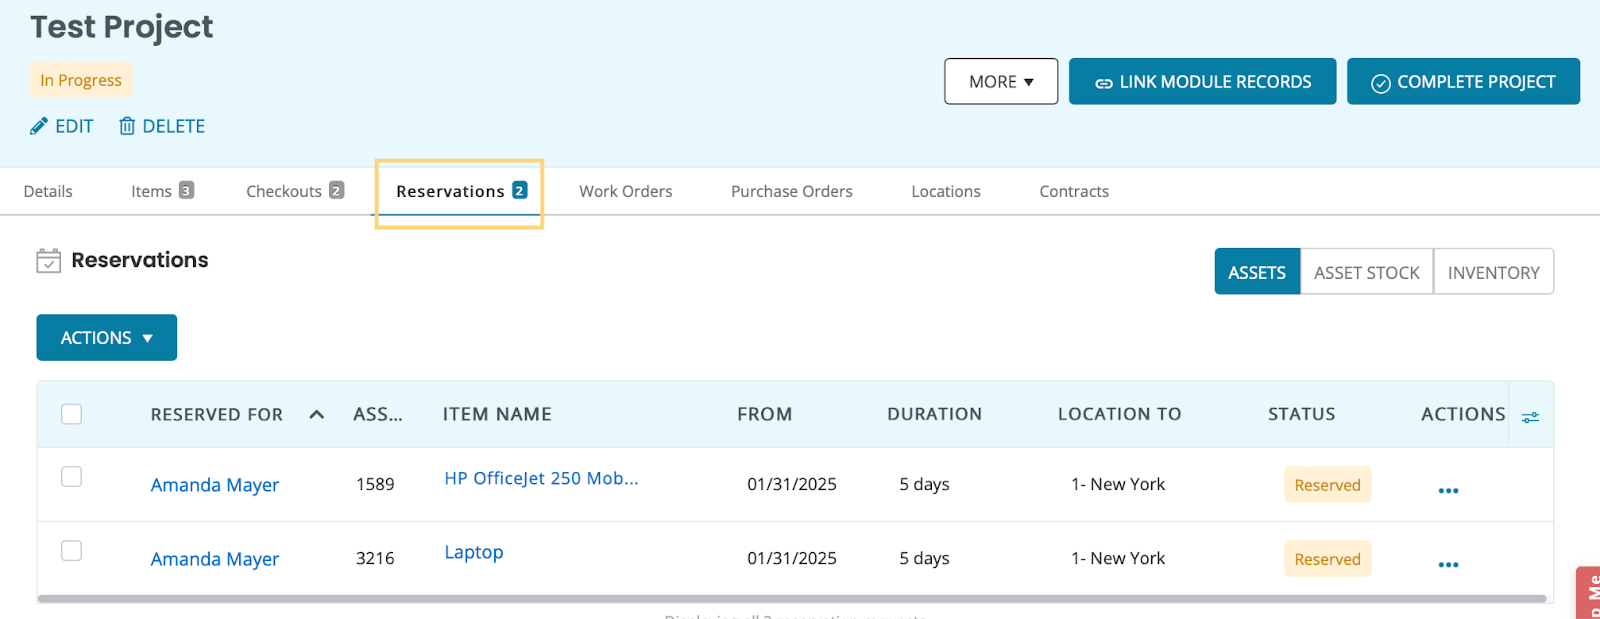
Now let’s see how we can link Reservations to the projects.
You can easily reserve items and carts by using the Reservations module in Projects. Go to the Items tab of the relevant project and mass select the items from the tab. Hit ‘Reserve’.
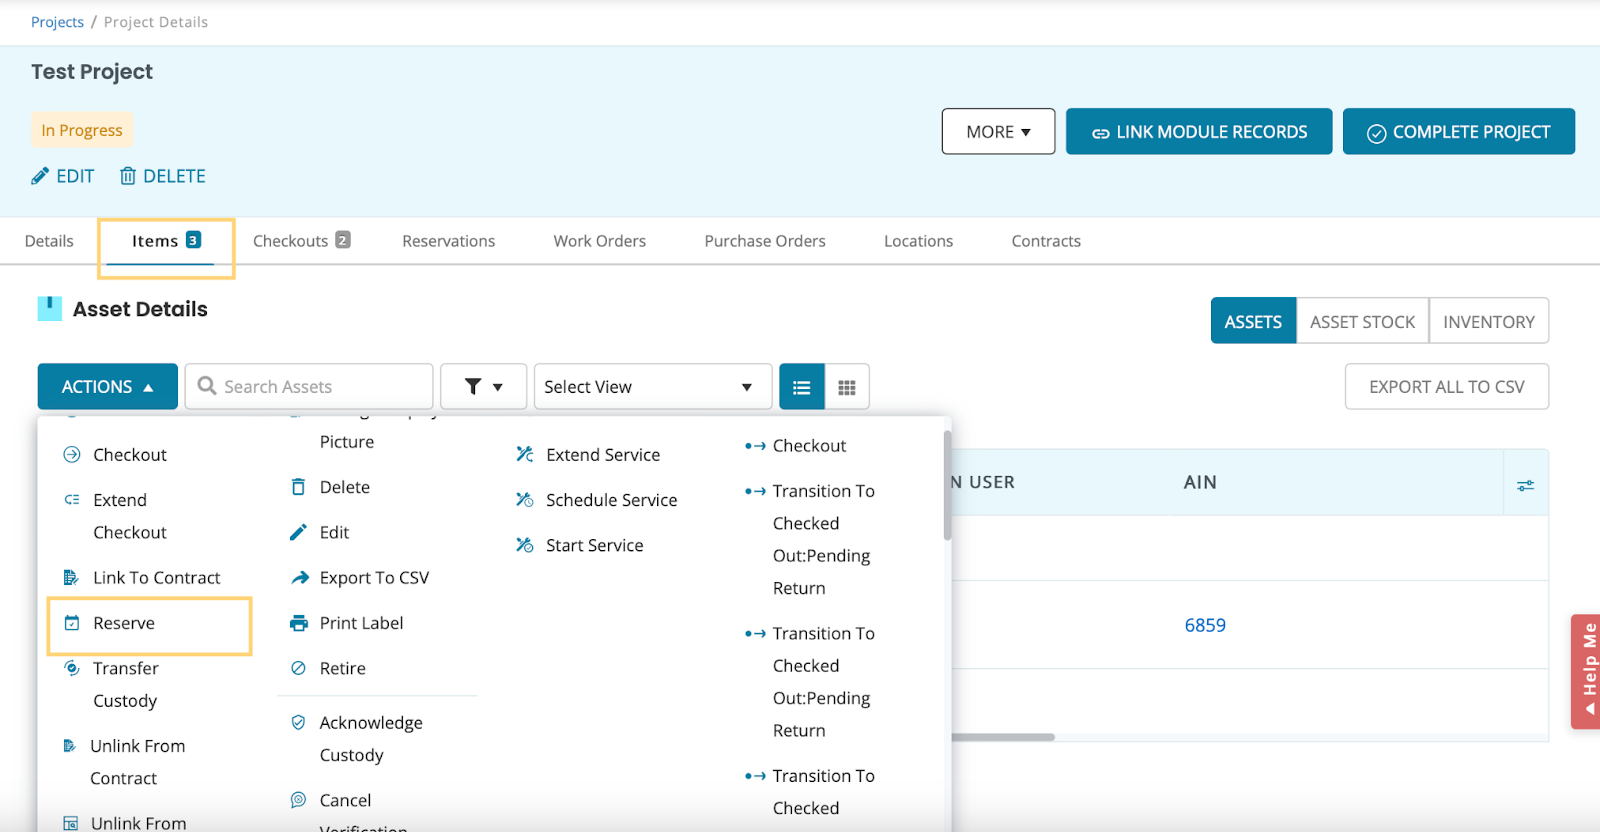
An overlay will appear where you can add the reservation dates, select locations and users, and the relevant project.

Fill out the details and click the ‘Reserve’ button. Your items would be successfully reserved and you’ll be able to view them under the Reservations tab of the linked project.
Following the same workflow, you can reserve carts for your projects.
Work done in Projects
There are two main work done modules in Projects: Work Orders and Purchase Orders. These are linked to a specific project so users can track events related to a certain project from a single source.
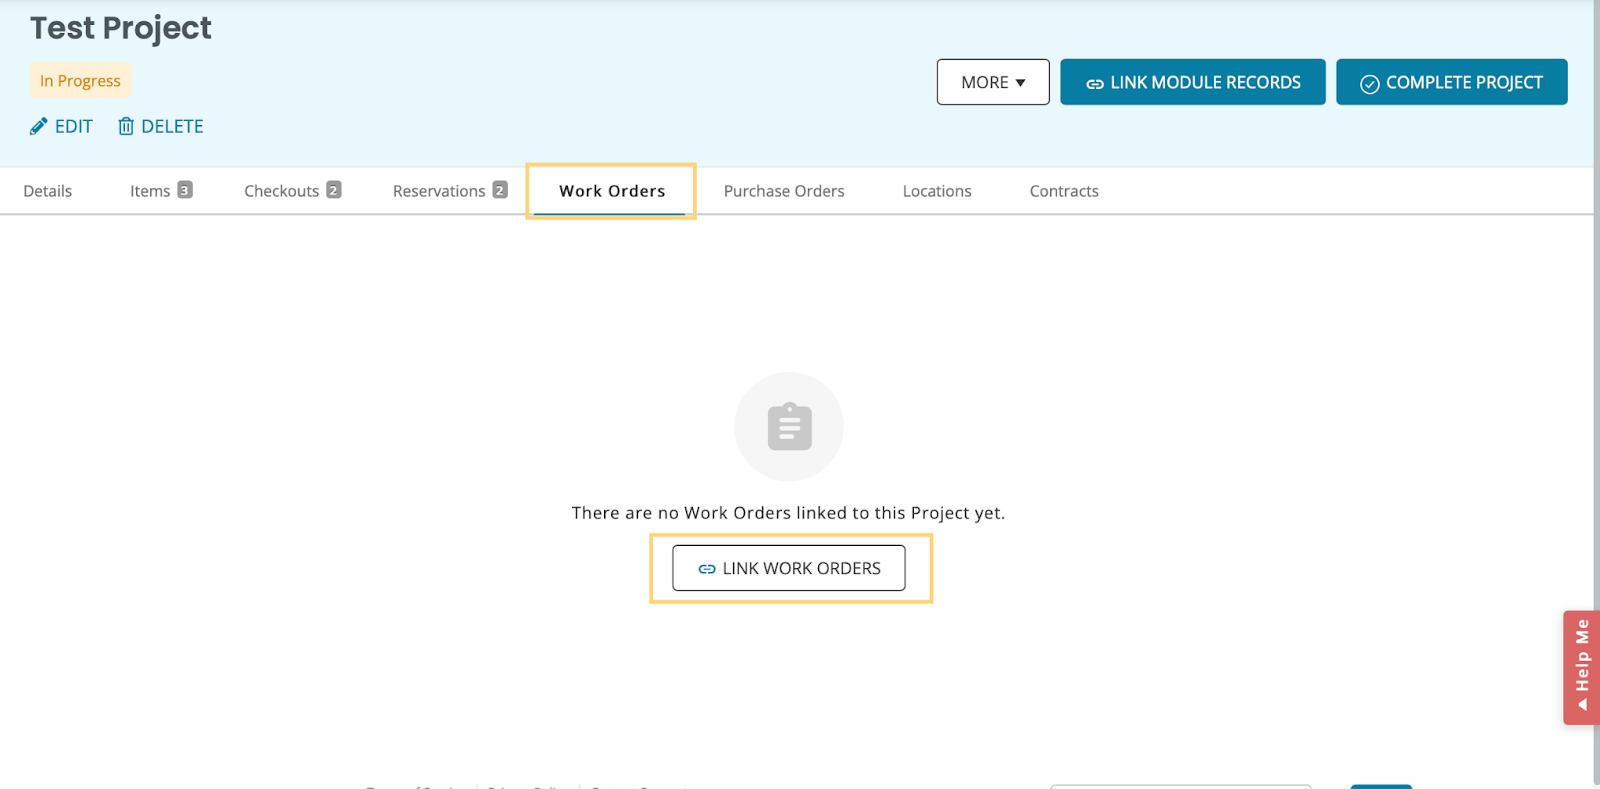
First, let’s see how you can link a Work Order to a specific project.
Go to the ‘Work Orders’ tab from the detail page and then click ‘Link Work Orders’.
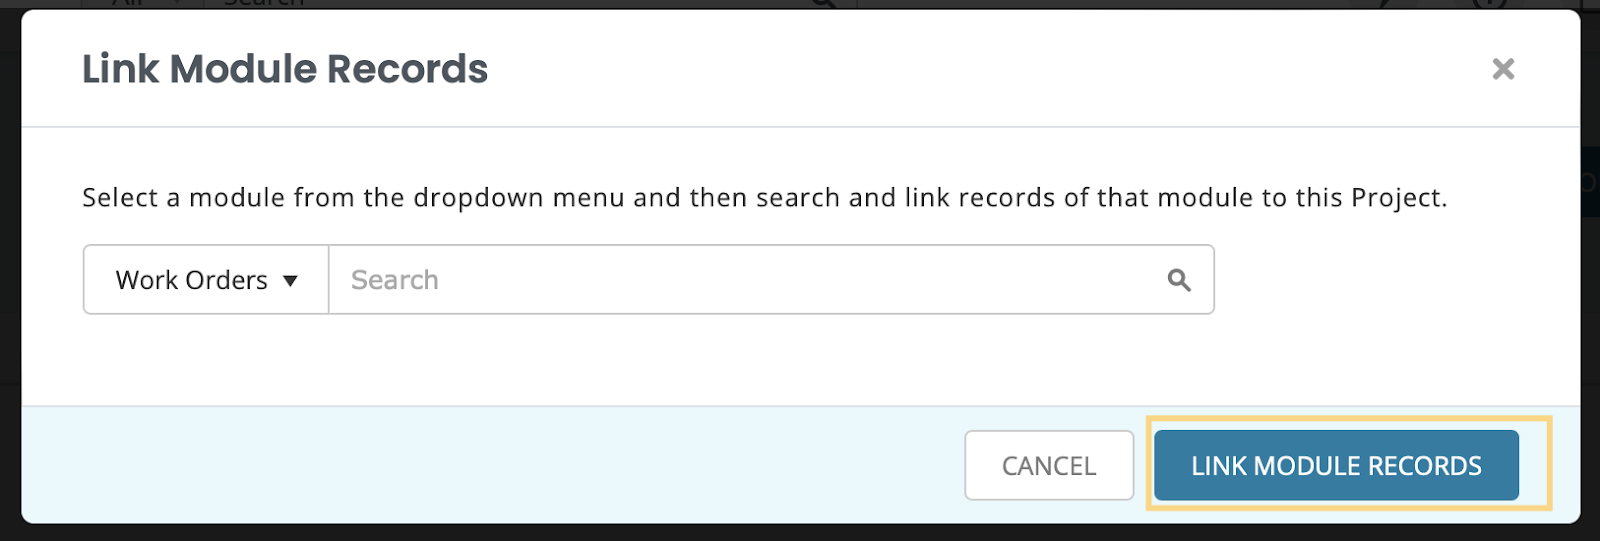
An overlay will appear asking you to link the work order records to the project. Choose the relevant work orders and hit the ‘Link Module Records’ button.
The linked Work Order will be visible under the Work Order in your Project.
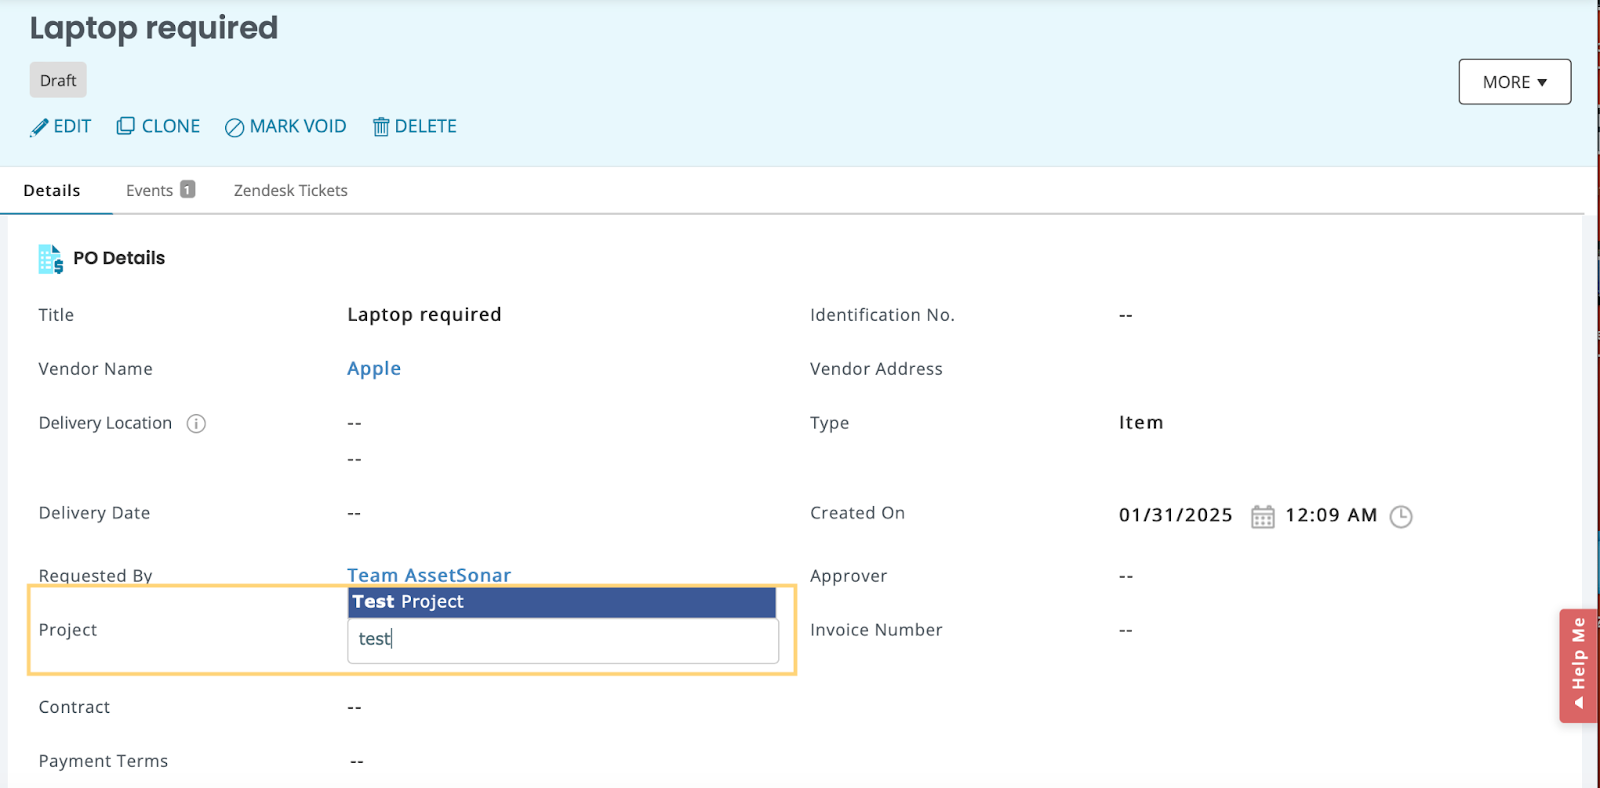
Now let’s see how you can link a Purchase Order to a project.
To start off, create a new Purchase Order and add Line Items. When you add Line Items in the Purchase Order, no Project is defined for them. You can assign a project to the PO after you have finished creating it.
Check Project History
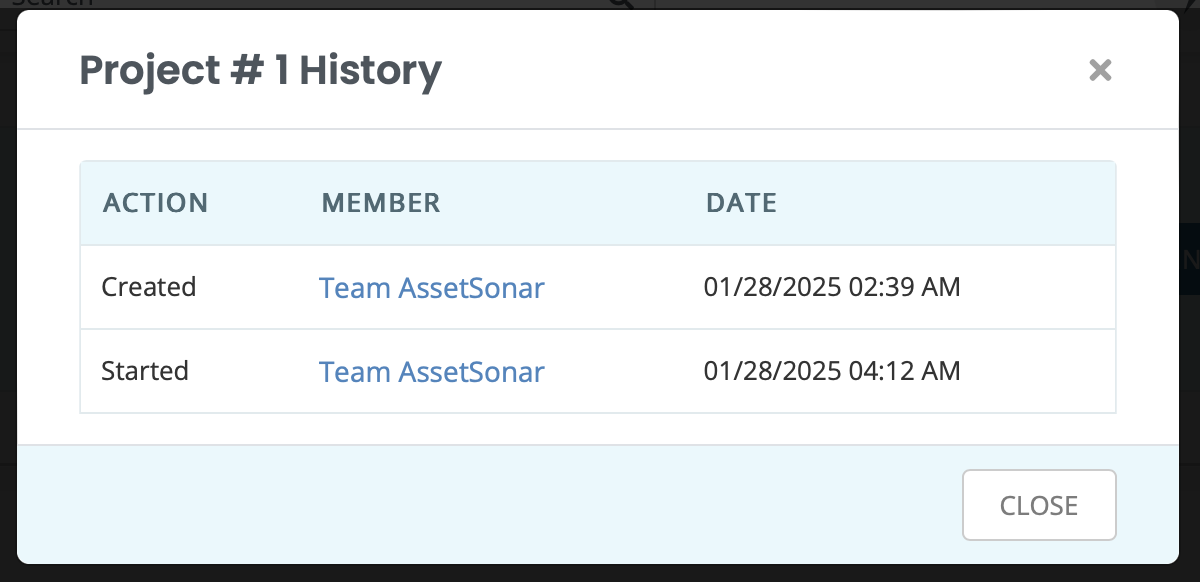
To track Project activities go to the Projects Details Page → More → History. An overlay will appear showing the start and create dates for the project.
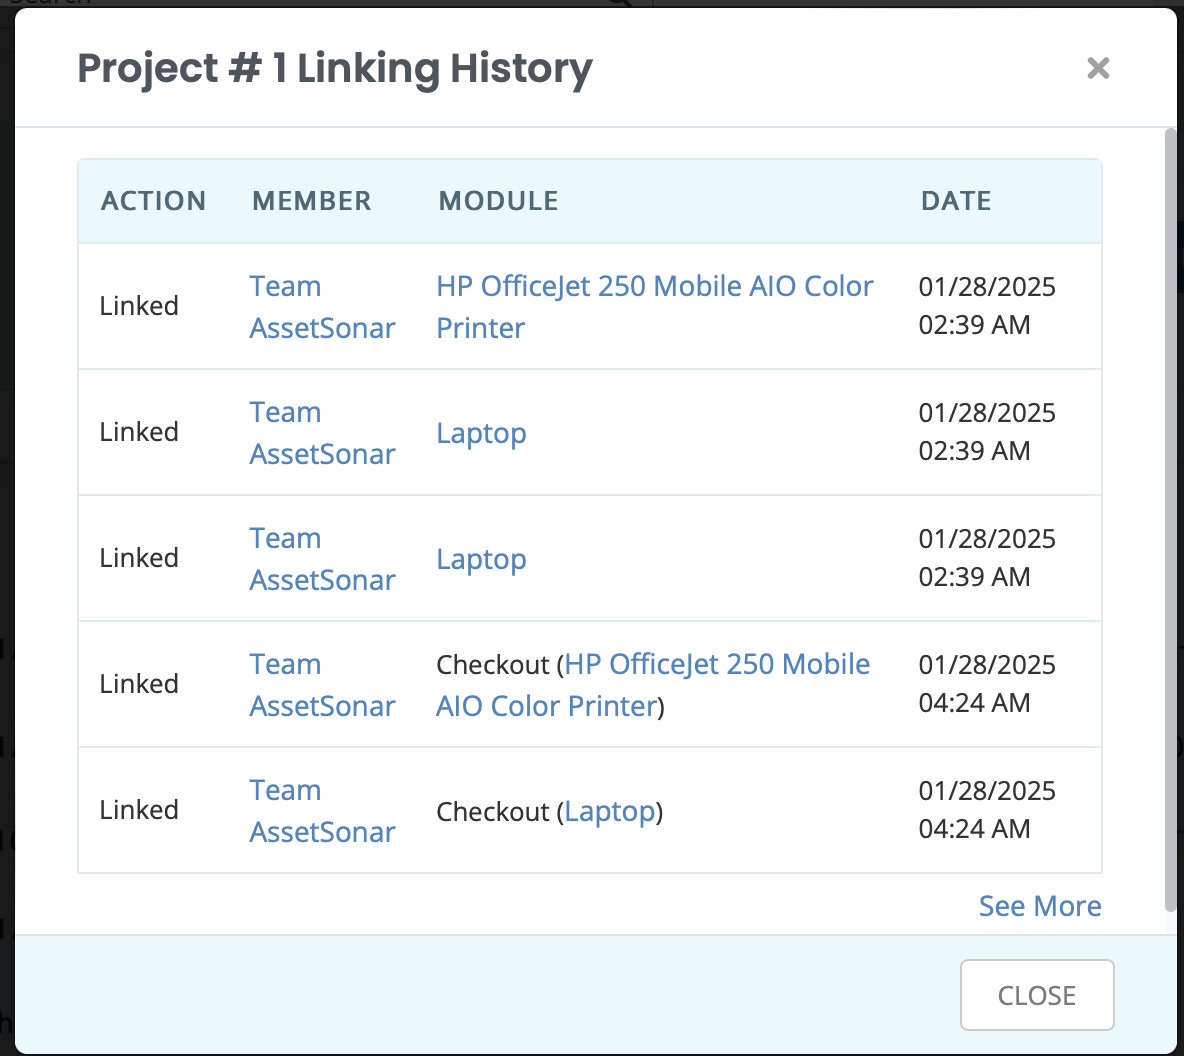
You can even access linking history for your Projects. Go to the Details page → More → Linking History. This displays all actions and modules linked to the Project in a chronological order.
Project Alerts
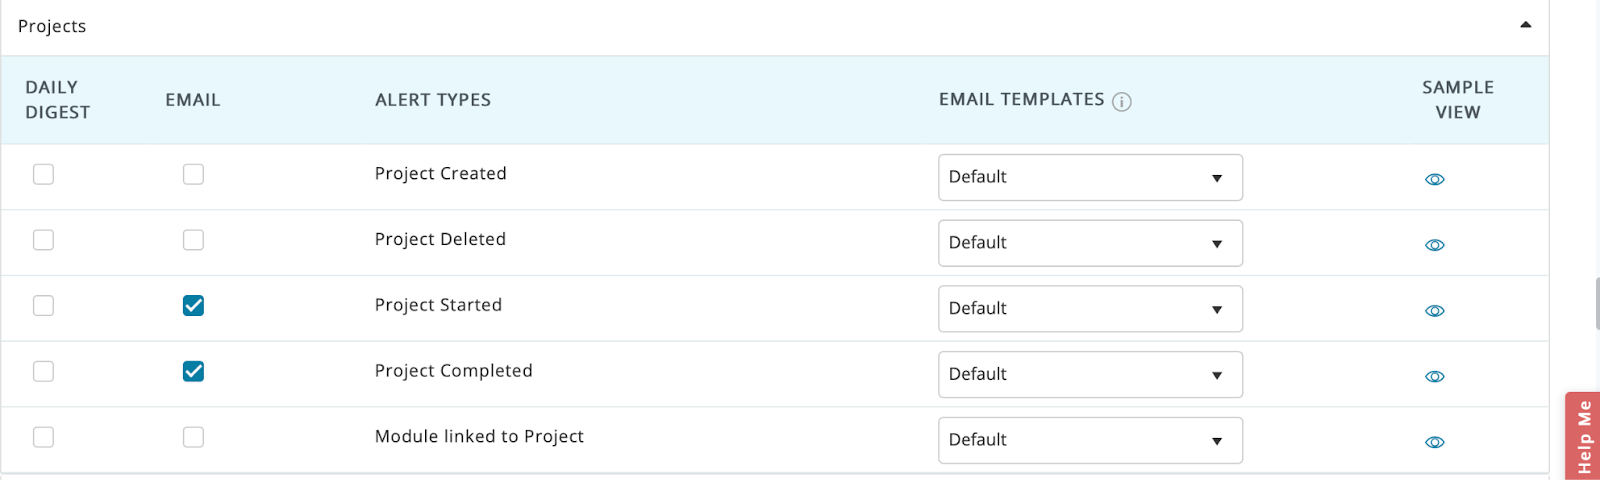
You can turn on Alerts for various changes made to your Project. Go to the Navigation Menu → Alerts & Emails → My Alerts → Projects and select all Alerts you want to enable.
Project Reports
Go to Reports → Projects and select the required Report for All Projects or Line Items. The regular Report for All Projects displays all modules enabled for projects along with the number of Items/Locations/Work Orders/Purchase Orders linked.

You can also run a custom report for projects. However, the custom report can only be selected for a single module except Items and Locations. When you choose a module like Work Order, the other modules are automatically disabled. This means you can just view one module across all Projects.
Delete a Project
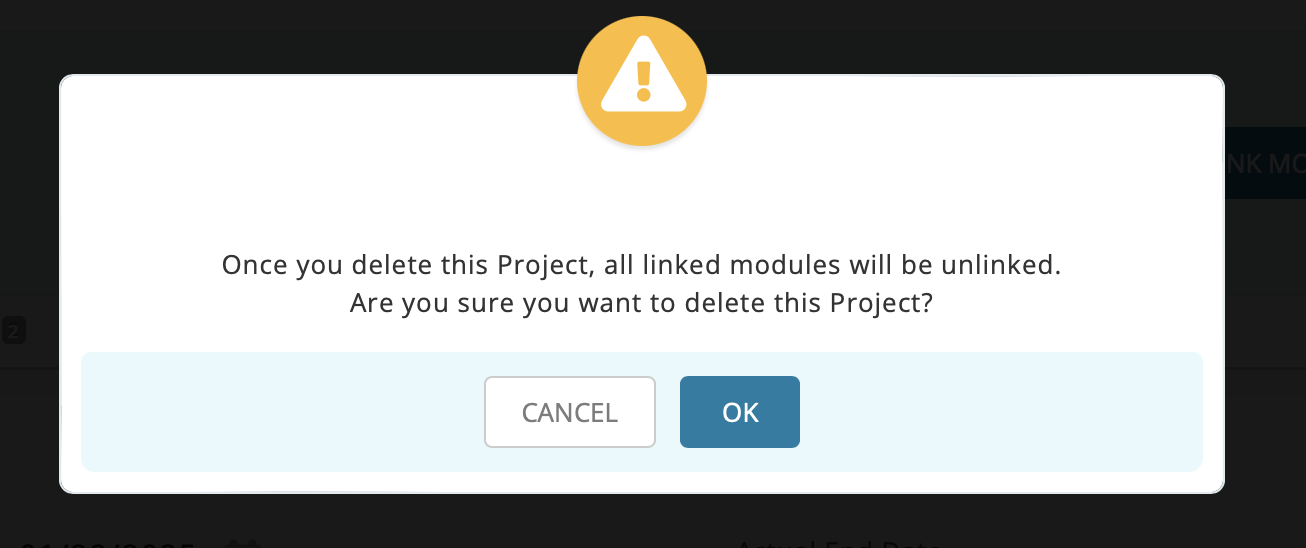
When finished, you can even delete a Project. Go to the Project Details Page → Delete. An overlay will appear with the following warning:
Adding Bulk Import Projects via CSV sheet
You can now create and update multiple projects at once using the Bulk Import feature in the Projects module. Previously, projects could only be added individually, but with this update, you can easily upload a CSV sheet to import multiple projects in one go.
Please note: For new projects via sheet, the ‘NAME’ field is mandatory. Also, the system will use the ‘Project Identification Number’ and ‘Name’ combined to ensure each project is unique. When updating existing projects via sheet, the ‘Project Sequence Number’ is mandatory and will be used as a unique identifier.
Limitations
- The Project State cannot be updated via CSV import and must be modified using the Mass Action option on the listing page.
- When updating a project through CSV, you can add new contracts, assignees, or records, but you cannot unlink or remove them.


![[How to] Mass Deploy the AssetSonar Agent Using Microsoft Intune](https://cdn.ezo.io/wp-content/uploads/2021/09/29172746/As-blog-banner-19-Aug-scaled-1.webp)
![[How-to] Automate IT Workflows in EZO AssetSonar](https://cdn.ezo.io/wp-content/uploads/2024/09/04125918/Automate-IT-Workflows-in-AssetSonar-1.jpg)
![[How-to] Automate Offboarding Workflows using Member Automations in AssetSonar](https://cdn.ezo.io/wp-content/uploads/2025/05/06122406/Member-Automations-in-scaled-1.webp)


