Why It Matters
Before your team can start resolving tickets or end-users can submit requests, the ITSM module must be enabled at the company level and the correct access roles must be assigned. Completing this one-time setup ensures a seamless sync of your users, hardware assets, locations, and teams across both your ITAM and ITSM workspaces.
How to Set It Up & Access the Module
As an Account Owner, follow these steps to turn on the service desk and grant your team access:
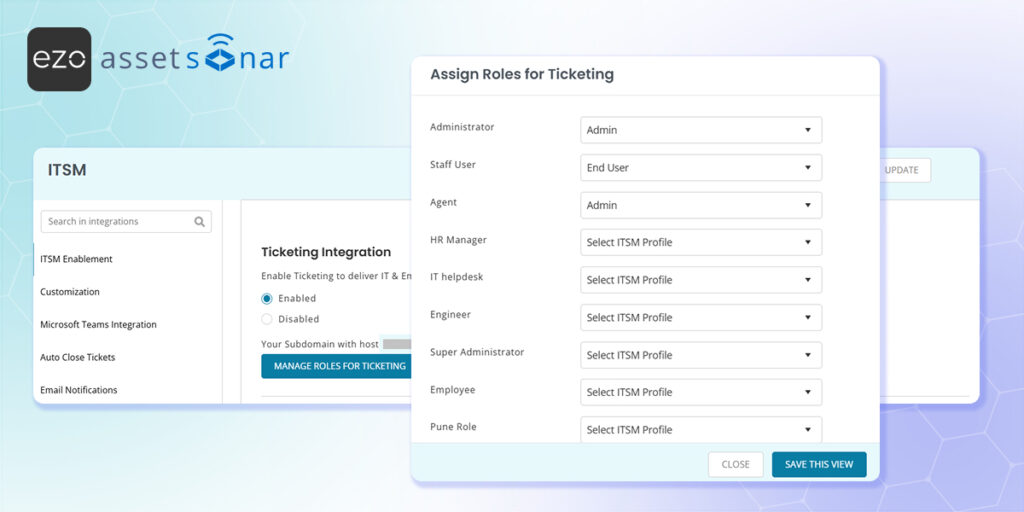
- Enable the Module: In your main AssetSonar ITAM account, navigate to Settings → Integrations → Ticketing Integration. Check the Enabled box and click Update to save your changes.
- Assign Roles: Once enabled, a Manage Roles for Ticketing option will appear. Click this to open a modal where you can assign specific access levels (Admin, Agent, or End User) to your required users, then click Save This View.
- Access via App Switcher: If you are already actively working in AssetSonar ITAM, you can seamlessly jump to the service desk at any time by clicking the ITSM button located in the top-right corner of your dashboard.
- Direct Sign-In: For standard access, users can navigate to the standard Sign In page, enter their email, and click Continue. From there, they simply select the relevant company account, choose AssetSonar ITSM, and complete the sign-in process using their preferred authentication method.
Next Steps
Sign into the ITSM portal as an end-user and submit a test ticket to validate that the end-to-end creation process is fully functional and that your assigned ITAM assets are properly syncing to your profile. (Note: If you encounter any technical issues during this initial setup, please reach out to support@ezo.io for assistance).


