

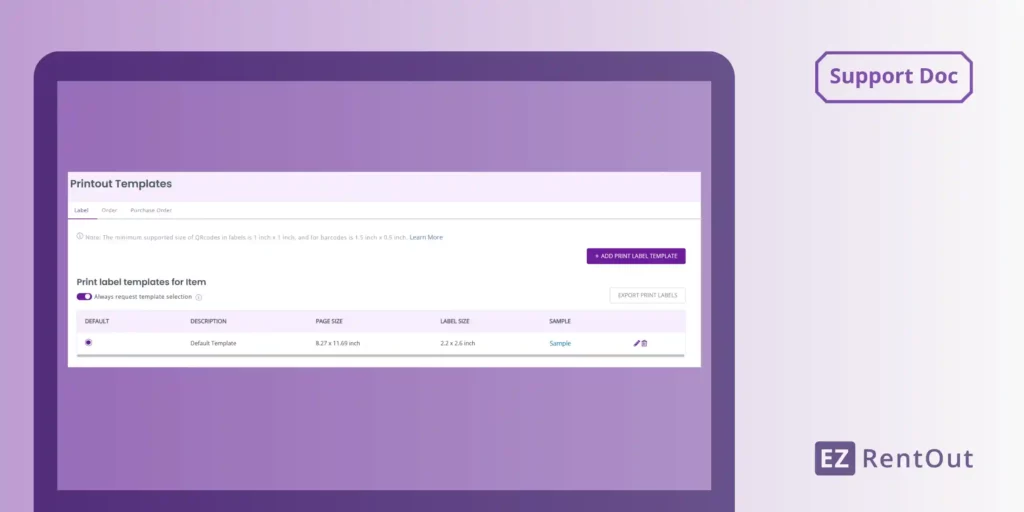
EZRentOut enables you to create and edit labels using the Label Designer. To access this, go to More → Printout Templates.
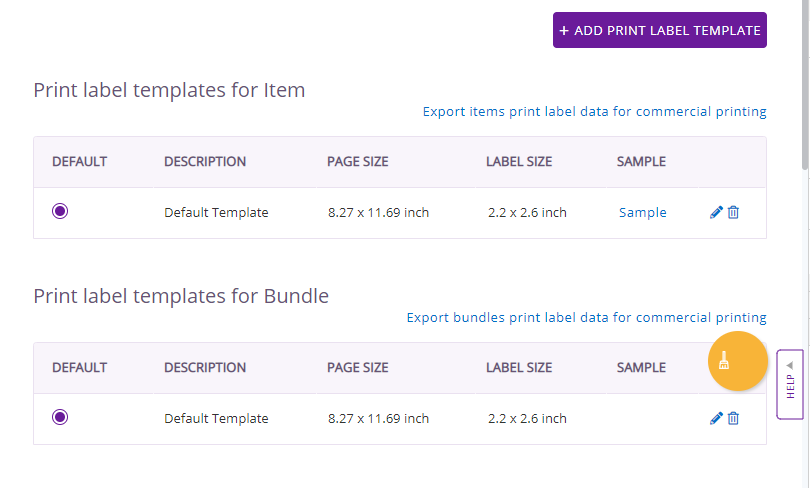
Here, you can edit or delete older templates by clicking the relevant icons in the last column. You can also create a new template by clicking on ‘Add Print Label Template’. This can be done for both items and bundles.
Before we get into that, let’s see what the Label Designer does:
- State of the art, drag-and-drop based designer. Just grab the data box and move it to the canvas below.
- The choice of inserting QRCodes, Barcodes or both on the label to use with our mobile device based scanning feature.
- All of an asset’s pre-defined fields can be printed on the asset label.
- Similarly, all custom attributes (text, date, paragraph) are available for printing on the asset label.
- Apply rich formatting to data fields (by double-clicking on the field’s data box)
- Insert free form text and easily apply styles like fonts, alignment, size, and rotation.
- Ability to insert your company logo into the label.
Learn how to design Printout Templates using EZRentOut:
Layout and Design
On opening the print label template, you will see multiple layout options. You can choose the paper size, margins, and the space you’d like to leave between labels. You can also change label dimensions by sliding the width and height scale around or inputting them manually.
While the current screenshot shows the dimensions in inches, you can easily switch to centimeters if you wish. To do so, go to Company Settings → Company Profile → Miscellaneous→ Length Unit and select between inches or centimeter.

Scrolling down, you will find the designer itself. Simply drag the fields and arrange them onto the label as you see fit. The following screenshot shows a newly designed template for a label. It includes a QR Code, the company logo, asset number, name, description, as well as a rotated text box.
Note: Rotated pictures only show up as rotated once you click the ‘Preview’ or ‘Create’ buttons. It might seem like it is obscuring another label element (as shown below), but you can adjust the placement using the preview.

When previewed in the designer or rendered while printing, the label displays as shown in the image below.

If you want to see a detailed guide on designing print labels, read the Print Labels Knowledge Base.
Fitting Multiple Labels on a Page
You can also arrange and fit multiple labels on the same page. Select multiple assets from the ‘Assets Listing’ view, and choose ‘Print Label’ from the actions menu as shown below.

Another way to achieve the same effect is to disable ‘Single Step Printing’ from the Icon Bell → Print Queue. This allows you to ‘fill up’ the print queue before explicitly taking the print action on the print queue. This means you can put multiple labels on one page, and review them before you actually print them.

Looking for some more answers? Check our FAQs section or email at support@ezo.io


