

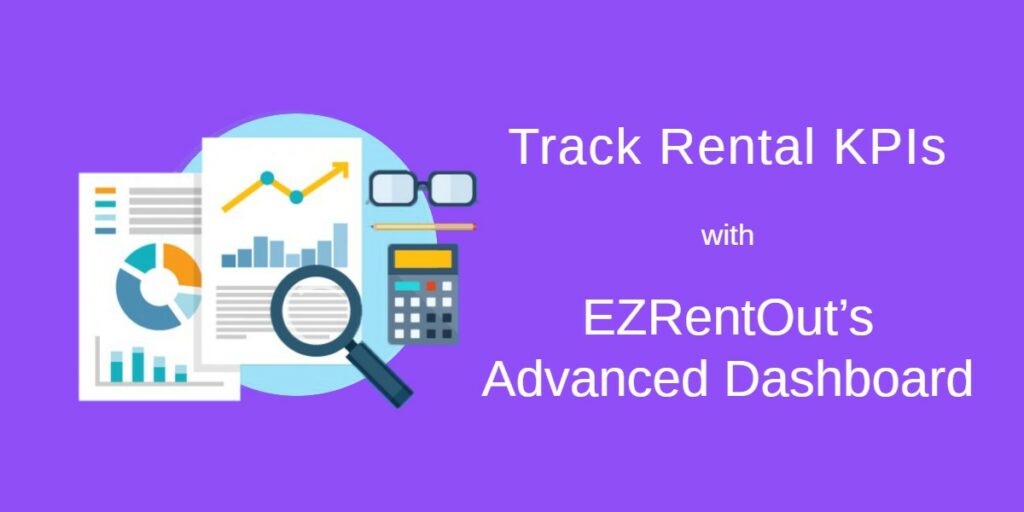
Performance analysis is critical for the success of any business, rental or otherwise.
The Dashboard in EZRentOut enables businesses to closely track key metrics by providing a snapshot view of all asset-related activities. This makes it easy to monitor business progress at all times!
Access data points that matter to you right when you log in to your account! With EZRentOut, you can discern what needs to be tended to right off the bat.
Here’s how you can make use of the EZRentOut dashboard better:
Contents:
1. Understanding the Dashboard
2. Customizing the Dashboard
3. Getting familiar with Metric Cards
4. Flexibility in the Dashboard
5. Viewing KPIs for a particular time period
6. Enabling Add Ons for more KPIs
1. Understanding the Advanced Dashboard
The Dashboard features multiple KPIs to help track performance among several dimensions, from Asset Stock to Purchase Orders.
You can also view graphs on the Dashboard to make it even simpler to understand the information in a visual format.
Apart from the Dashboard metric cards, track all ongoing and upcoming events, reservations, and maintenance services from the Dashboard Calendar.
Moving further below, we see that the Dashboard also contains a Locations Map feature. This map shows you where your Assets are at a glance.
Then follows the Latest Events log. This log contains the history of all recent events.
If anyone in the company takes any action, it will show up in the Latest Events log. Some examples of events include drafting an Order; adding a new Customer or User Listing; and booking, renting out, or returning an Asset.
The Dashboard presents all these features on a user-friendly canvas that is intuitive to understand and easy to interact with.
Moreover, the Dashboard is also flexible and customizable, so you can readjust it as you require. We will discuss these two qualities in further detail below.
2. Customizing the Dashboard
Easily choose the metrics that you want to display on your Dashboard to customize it to your specific needs. Furthermore, you can also visually arrange them in the manner that’s most convenient for you to view.
You can also specify the time period for which you want to display the KPIs. We’ll show you how you can do this as we move along.
To begin customizing your Dashboard, first pick your choice of metrics from the ones available. To do this, click on the ‘Edit Dashboard’ button as shown below.

After you click the ‘Edit Dashboard’ button, the header and widgets are in editable format. The three options on the top right side allow you to Manage Dashboard, add a new header and click Done after all customizations. The dialogue box, under the name of ‘Manage Widgets’, shows you a list of all the KPIs you can display on your EZRentOut Dashboard.

The overlay above is divided into different modules to select relevant KPIs. Once you have selected KPIs from the Settings menu, you must click the ‘Update’ button to display it on the Dashboard. This saves and implements your choices.
Other than the list of KPIs, you can click the ‘Add Graph or Table from Custom Reports’ to be added to the Dashboard for quick review.

3. Getting familiar with Metric Cards
Here’s a visual of what a metric card looks like:

4. Flexibility in the Dashboard
The metric cards on the Dashboard are flexible. As you click ‘Edit Dashboard’, you can rename the Dashboard and metric card both, move them around, and remove KPIs that are not required on the Dashboard.

Once you have changed the names and placement, click on “Done”.
This is helpful if you want to display KPIs you deem the most important in the first row so they’re the first thing you see on the Dashboard. You can do this when the Dashboard is in the ‘Edit’ mode.
For example, keeping an eye on the proper maintenance and availability of equipment is one of the main priorities for construction companies. Therefore, the “Asset Utilization” metric card is more relevant for them.
This card lets companies keep track of how much Asset is utilized compared to their available time. If you click on the card description, in our case “Asset Utilization”, it will provide you with its description.

5. Viewing KPIs for a particular time period
Right next to the ‘Edit’ button, there is a drop-down menu for different time periods. With this menu, you can choose a time period for which you want to view the KPIs.

For example, with the ‘Service Due Today’ card, you can choose to view the value of that KPI for the past 7 days.
This will let you know the quantity of equipment that is sent out for maintenance in a particular week. You can also set a custom time range as you wish in order to view the KPIs in that particular range.
Note: Remember to click on the ‘Apply’ button after you choose the time period you require. This will save and implement the settings.
6. Enabling Add Ons for more KPIs
Not all KPIs are automatically visible in the ‘Dashboard Settings’ menu. Instead, some of them are only visible once you enable their associated Add Ons.
For example, the KPIs associated with Work Orders will only be available after you go to Settings → Add Ons → Work Orders and select Enabled.
Read More: Work Order Management in EZRentOut
Below is a table of all the Add Ons that you need to enable in order to view their KPIs on your Advanced Dashboard.

Have any questions?
We love hearing from you! If you have any queries or confusion about EZRentOut, reach out to us at support@ezo.io.


