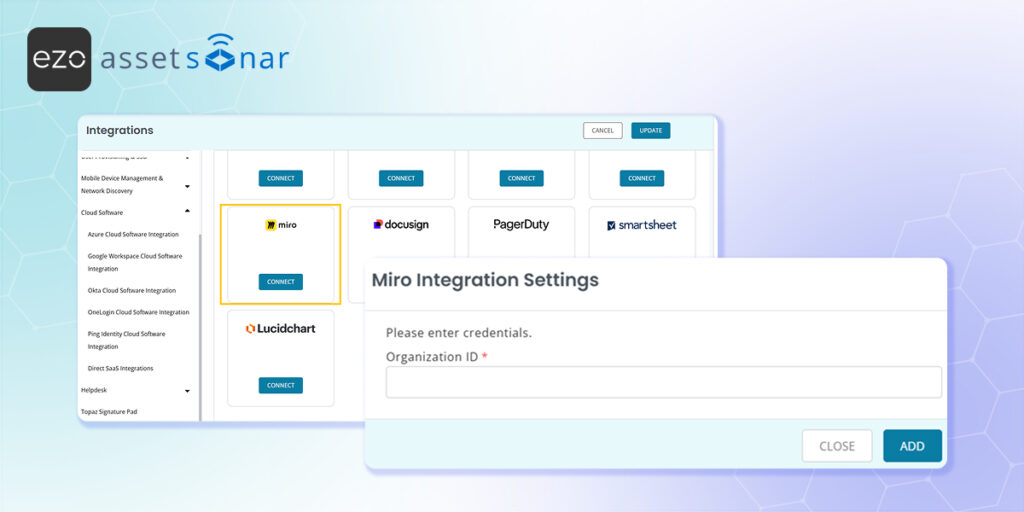
Miro is commonly used across product, design, and engineering teams for collaborative whiteboarding. In larger organizations, tracking who holds paid Miro licenses—and whether those licenses are actually being used—can quickly become difficult.
By connecting Miro with AssetSonar, you can import license inventory, sync assigned members, and surface activity signals in one place. This guide walks you through connecting Miro to AssetSonar and reviewing the imported license data.
1. Navigate to Direct SaaS Integrations
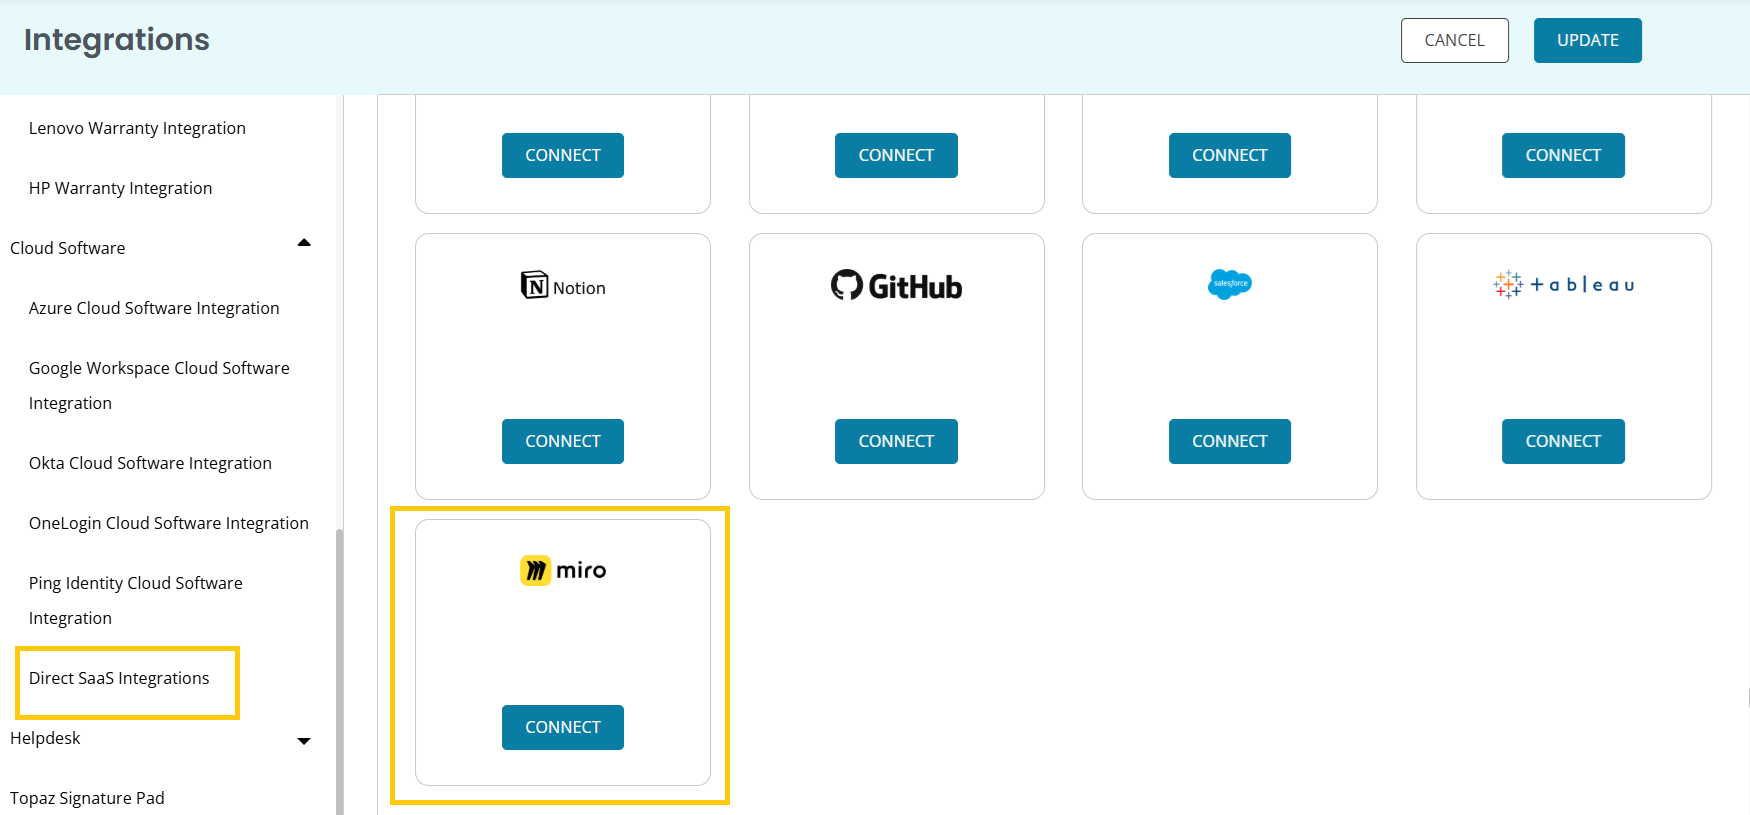
- In AssetSonar, go to Settings → Integrations → Cloud Software → Direct SaaS Integrations.
- Locate the Miro integration card and click Connect.
- Enter your Organization ID.
- Click Add.
This starts the authentication flow for your Miro organization.
2. Authenticate with Miro
When prompted, sign in to your Miro account and approve the requested permissions.
AssetSonar uses OAuth 2.0 to establish a secure, read-only connection with Miro. To complete this step successfully, the Miro account used must have Company Admin access, and the organization must be on the Miro Enterprise plan, as license and audit data are only available at that level.
If permissions are missing or the plan does not support the required APIs, the connection will fail, and AssetSonar will prompt you to review access.
3. Import Miro Licenses into AssetSonar
Once authentication is successful, AssetSonar automatically launches the license import flow.
During this process, AssetSonar:
- Identifies your Miro organization
- Imports purchased license seats
- Maps assigned members to those licenses
Follow the on-screen steps to confirm and complete the import.
4. What Data Is Imported from Miro
After the integration is connected, AssetSonar syncs the following information:
License Inventory
- License plan (shown as the license name in AssetSonar)
Assigned Members
- Member email
- License assignment status
Activity Signals
- Most recent activity timestamp per user
- Derived from Miro audit events (up to the last 90 days)
Note: Miro does not provide a single “last active” field. AssetSonar determines activity based on the most recent audit event available for each user.
5. Review Miro Licenses in AssetSonar
Once the import completes,
- Go to Software → Software Licenses.
- Open the Miro license record.
From this view, you can:
- Compare purchased vs. assigned seats
- Review which users hold licenses
- Use activity timestamps to identify potentially unused licenses
This helps with renewal planning, internal audits, and license optimization.
Ready to Review and Optimize Your Miro Licenses?
Once connected, AssetSonar gives you a centralized view of Miro license usage—who has access, how many seats are used, and where optimization opportunities exist.
If you need help connecting Miro or reviewing imported data, contact support@ezo.io and share your organization details.

![[How-to] Efficiently Track GitHub Licenses with GitHub and AssetSonar Integration](https://cdn.ezo.io/wp-content/uploads/2025/05/18160711/github-integration-scaled.webp)
![[How-to] Automate Software Tracking with Slack Integration in AssetSonar](https://cdn.ezo.io/wp-content/uploads/2025/01/20124914/Zoom-integration-scaled-1.webp)
![[How-to] Effectively Manage Adobe Licenses with Adobe and AssetSonar Integration](https://cdn.ezo.io/wp-content/uploads/2025/01/13082508/Adobe-Integration-scaled.jpg)