Why It Matters
Proactively emailing the requester when their ticket is received, updated, or resolved provides peace of mind and significantly reduces redundant status inquiries.
How to Set It Up
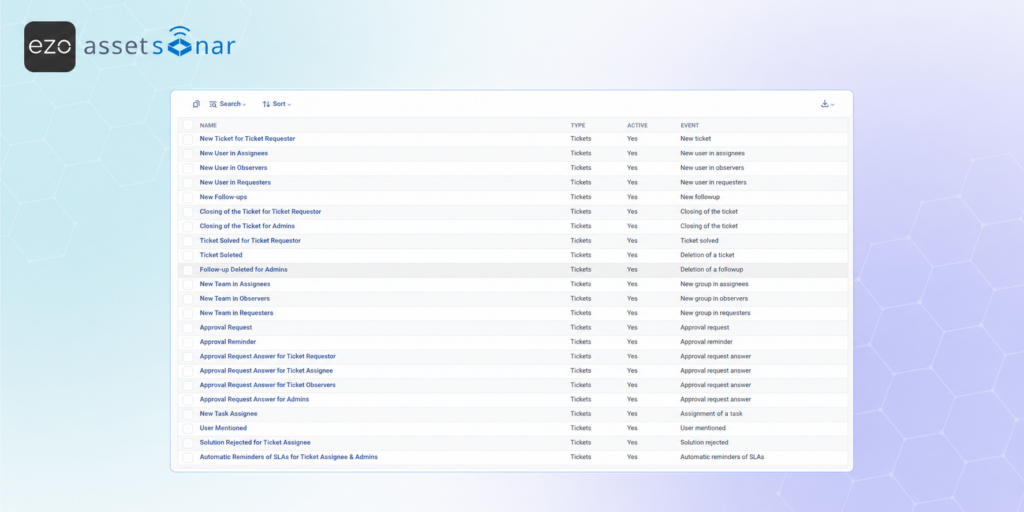
- Access the Settings: Navigate to Setup → Notifications to open the core notification area.
- Locate the Event: Use the search option to find the specific event related to the end-user experience, like “Ticket Creation” or “Ticket Solved,” and click on it to open the notification details page.
- Update Recipients: Open the Recipients tab from the sidebar and ensure the Requester role is selected as the primary recipient.
- Refine the Tone: From here, you can also ensure the corresponding notification template uses a friendly, non-technical tone and includes helpful variables like a direct link to the portal.
Next Steps
Submit a test ticket from an end-user account to ensure the auto-reply acknowledgment email lands in their inbox immediately and reads clearly.
Was this helpful?
Thanks for your feedback!

![[ITSM | How-to] Configuring Outgoing Email Notifications in AssetSonar](https://cdn.ezo.io/wp-content/uploads/2026/03/18093921/Configuring-User-Notifications-in-AssetSonar-2.png)
![[ITSM | How-to] Configuring Technician Notifications in AssetSonar](https://cdn.ezo.io/wp-content/uploads/2026/03/18093708/Configuring-User-Notifications-in-AssetSonar-1.png)
![[ITSM | How-to] Configuring User Notifications in AssetSonar](https://cdn.ezo.io/wp-content/uploads/2026/03/18093618/Configuring-User-Notifications-in-AssetSonar.png)


