We’re introducing Cart Tags — a flexible way to track the different states of your carts at any time. Instead of a predefined cart state engine, you can now create and assign custom tags to your carts, tailoring them to match your unique fulfillment or logistics processes.
This means no more workarounds or waiting on system updates. Just tag a cart “Dispatched”, “Under Review”, “Ready for Pickup” as per your process or anything else that fits your operations. To set up Carts, read this blog.
Benefits of Cart Tags
Here’s how Cart Tags help you upgrade cart tracking:
- Custom tracking for every workflow
Add tags that reflect your own operational stages. No need to conform to pre-set states. - Clearer communication
Tags like “Dispatched” or “Pending Approval” help keep requesters and team members aligned at a glance. - Faster process updates
Easily update or switch tags as cart status changes, without touching backend settings or workflows.
Let’s walk you through the process of creating new tags:
Create a New Tag
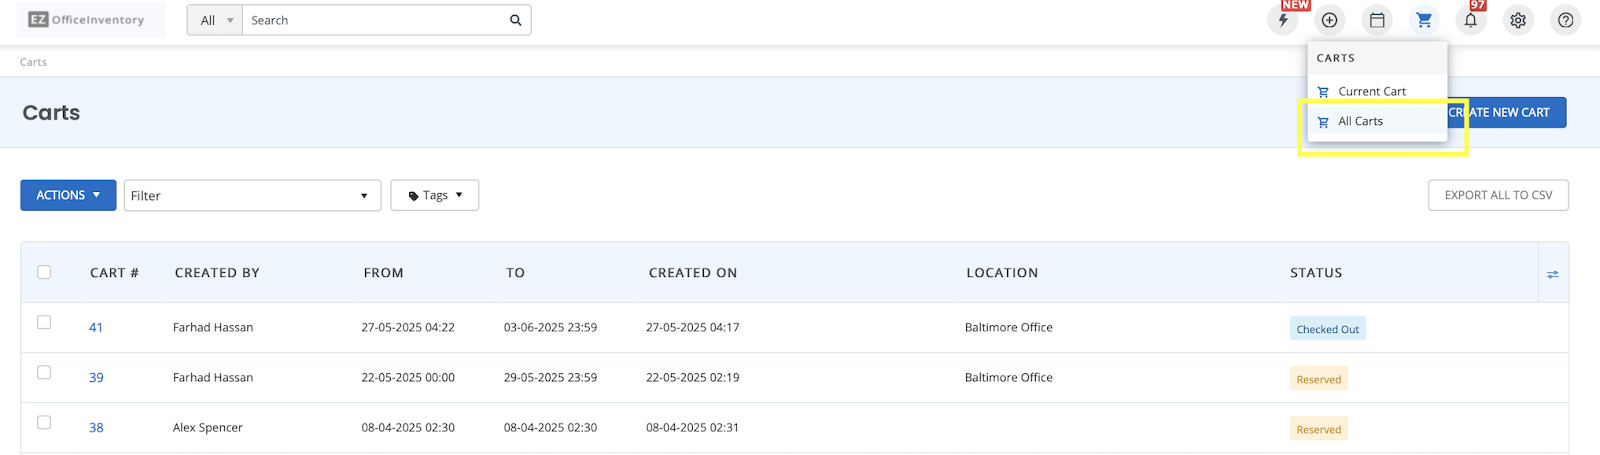
Go to the Notification bar, click on the Carts icon and go to ‘All Carts’.
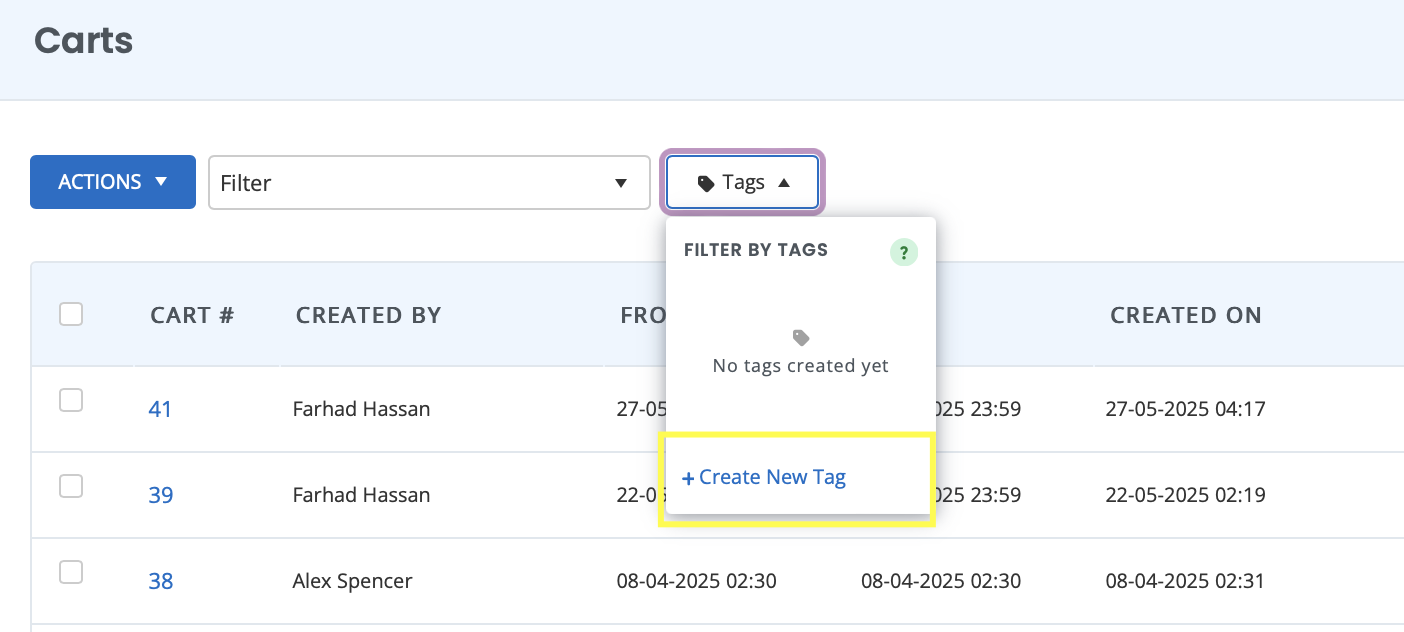
Next go to the ‘Tags’ filter and click on create a new tag.
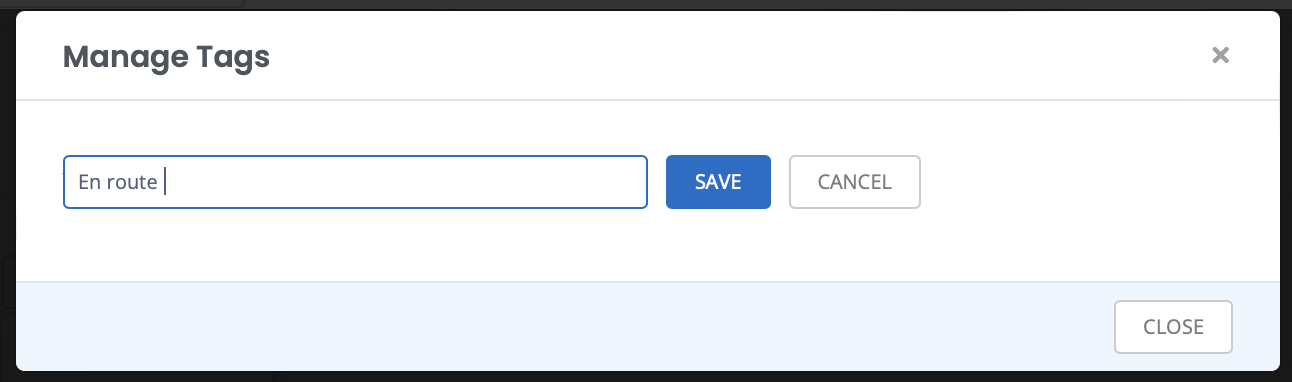
Enter the name of the Tag you want to create:
All created tags will be shown here:
2. Assign Tags
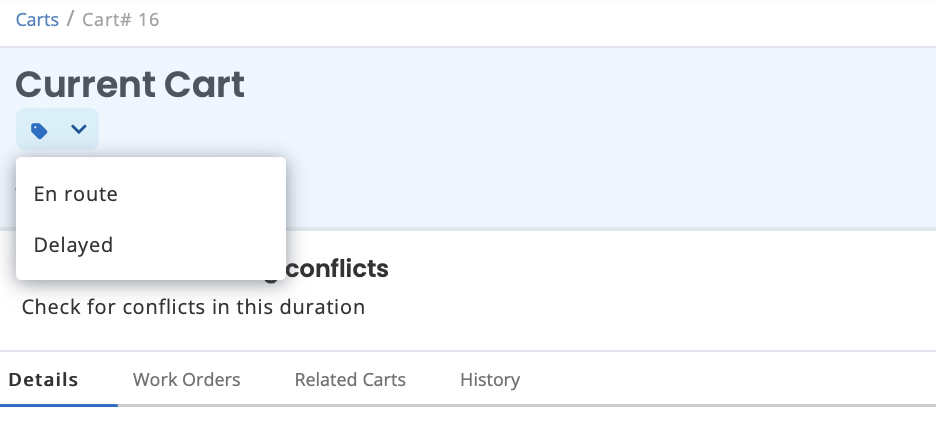
Next you can assign tags to your Carts. Go to a Carts detail page and you will see the Tags button. Here assign a relevant tag to your Cart.
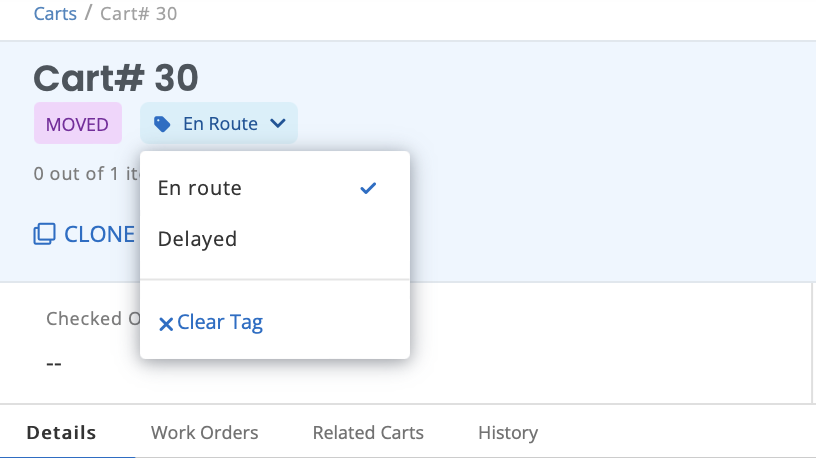
Once a tag has been assigned it can be changed to reflect the latest changes. Just go the Tags button and select the new tag:
Note: A single tag can be applied at a time. There will be no assignment of tags by default and the user will have to assign each cart a tag manually.
In case no tag is applicable, you can even clear all tags applied to a Cart.
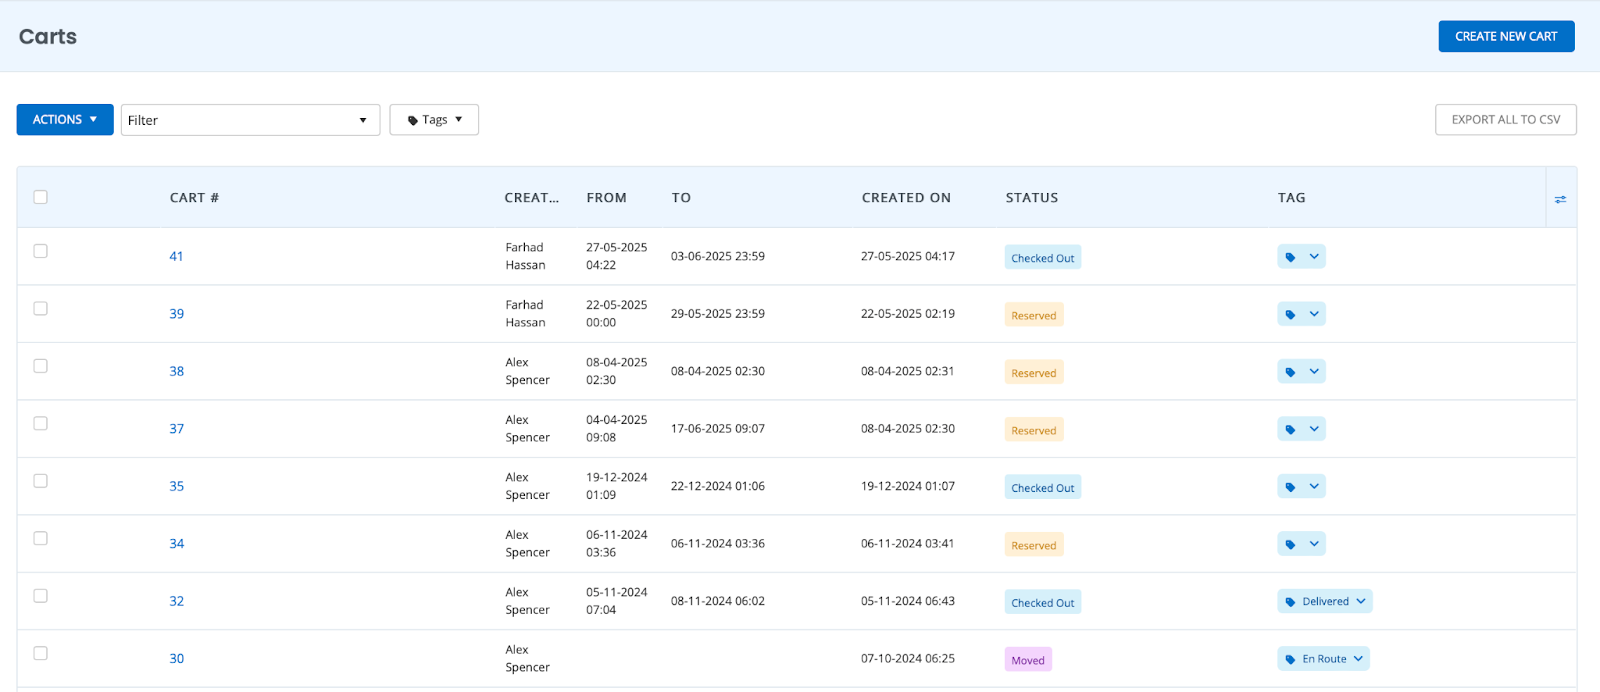
You can also mass assign tags by adding the Tags column on the Carts Listing page:
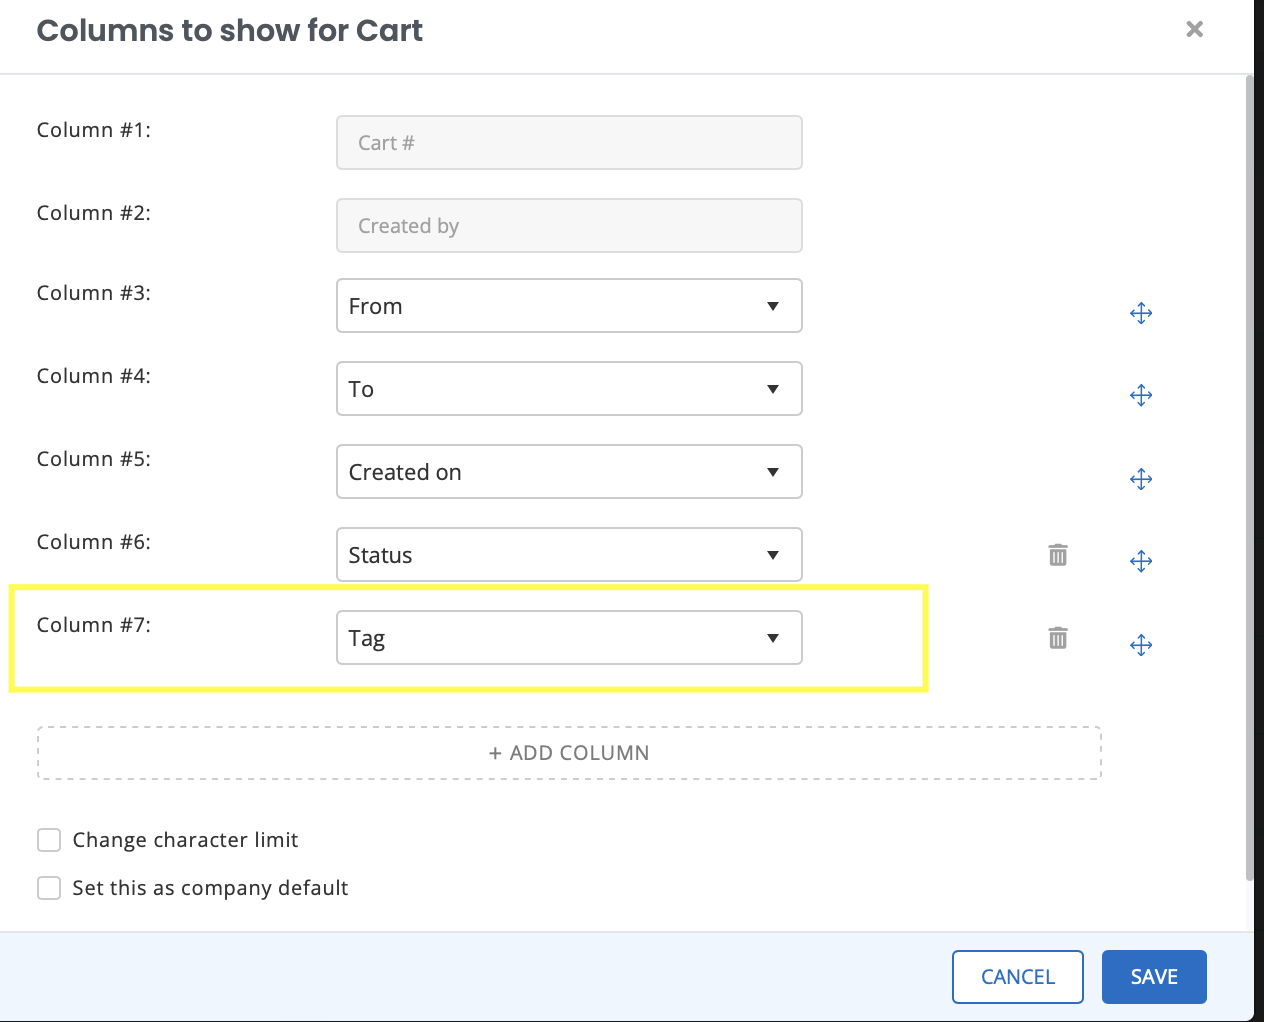
Once you have added the Tags column, you can assign tags to all Carts directly from the Listings page:
3. Manage Tags
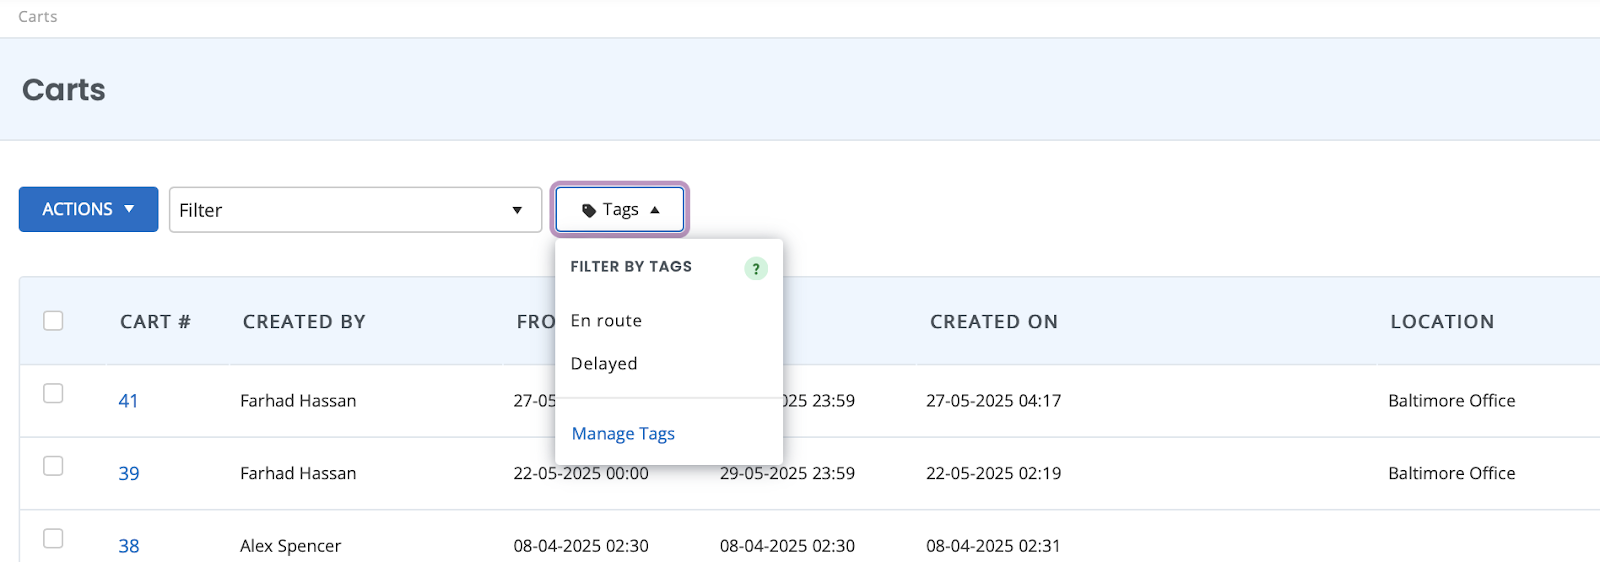
Go to the All Carts page click on the Tags dropdown. It will show all the tags that have been created and there will be an option to manage tags:
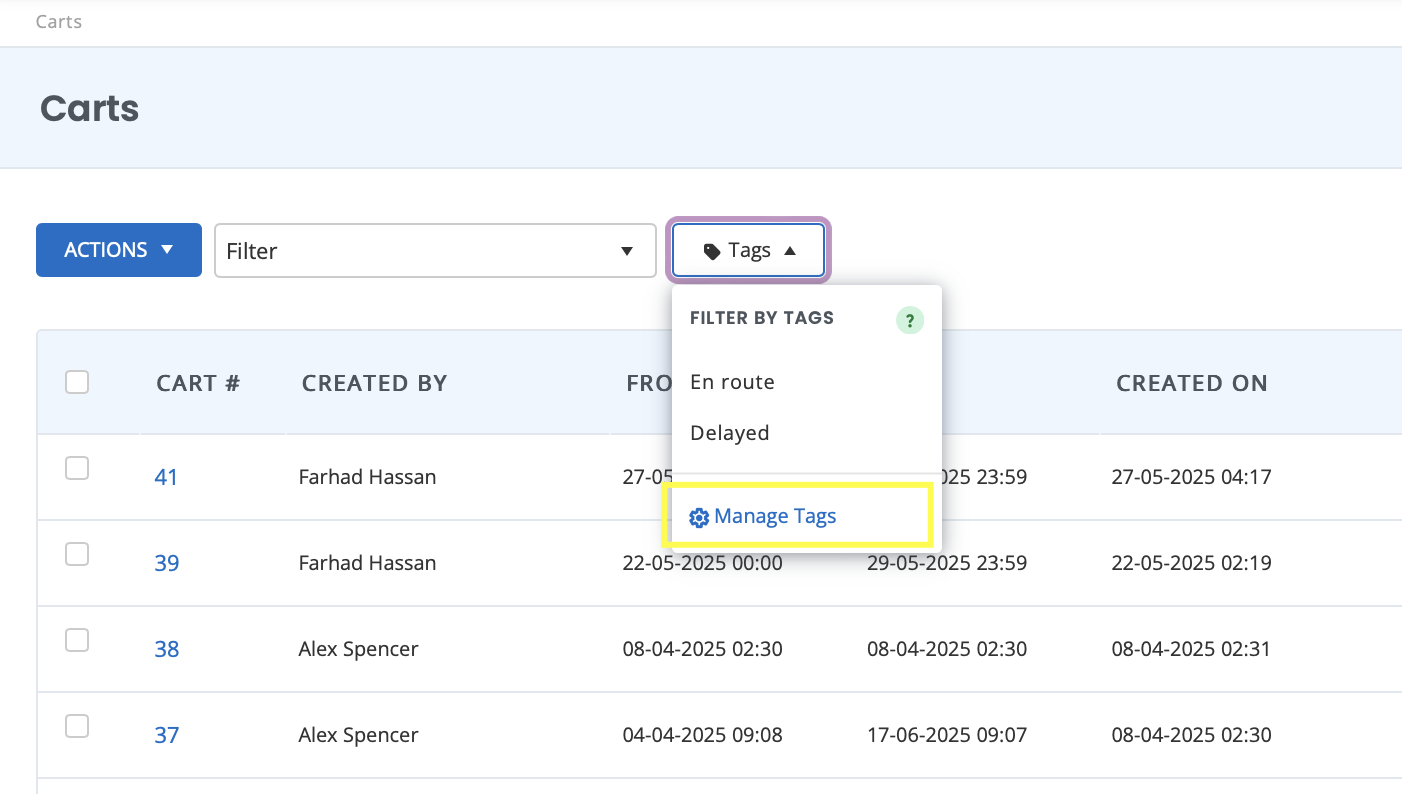
When you click on manage tags, a popup will open showing all the previously created tags:
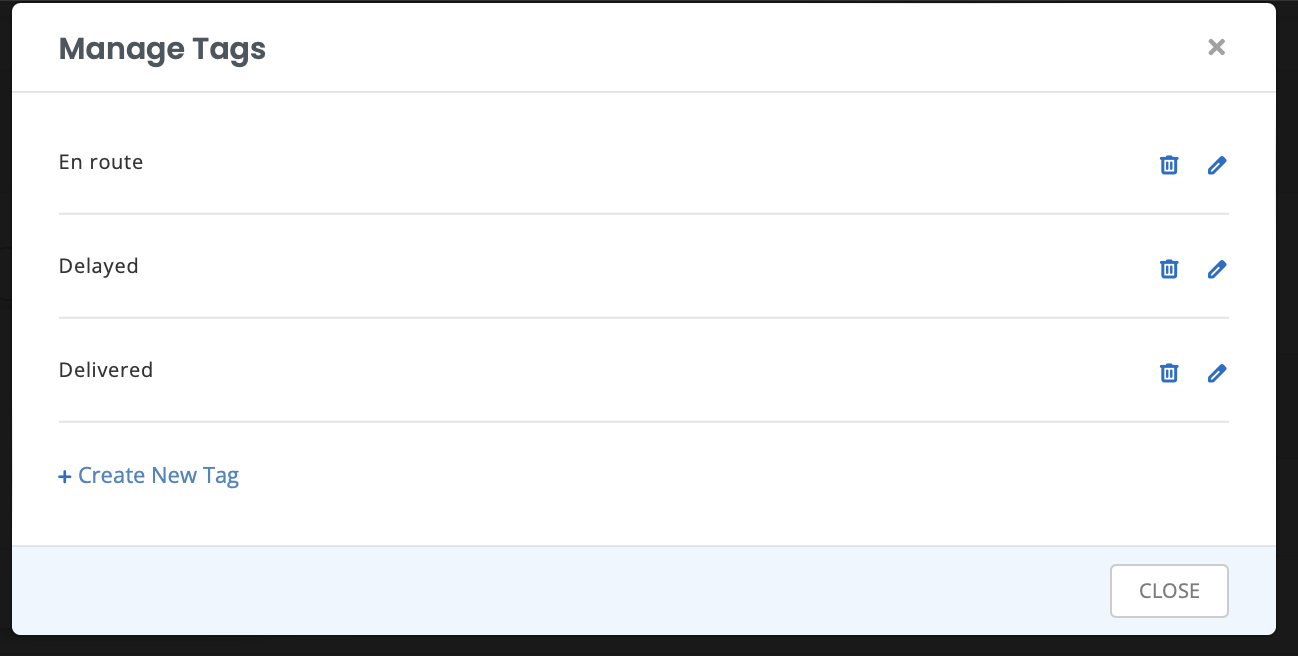
There will be an option on the bottom to ‘Create New Tag’. You can click on this to enter a name for the new tag and save it.
Next, you can Edit or Delete already existing tags. Click on the pencil icon next to the tag names to edit the name, or delete it when no longer needed.
A warning will appear when you are about to delete a tag: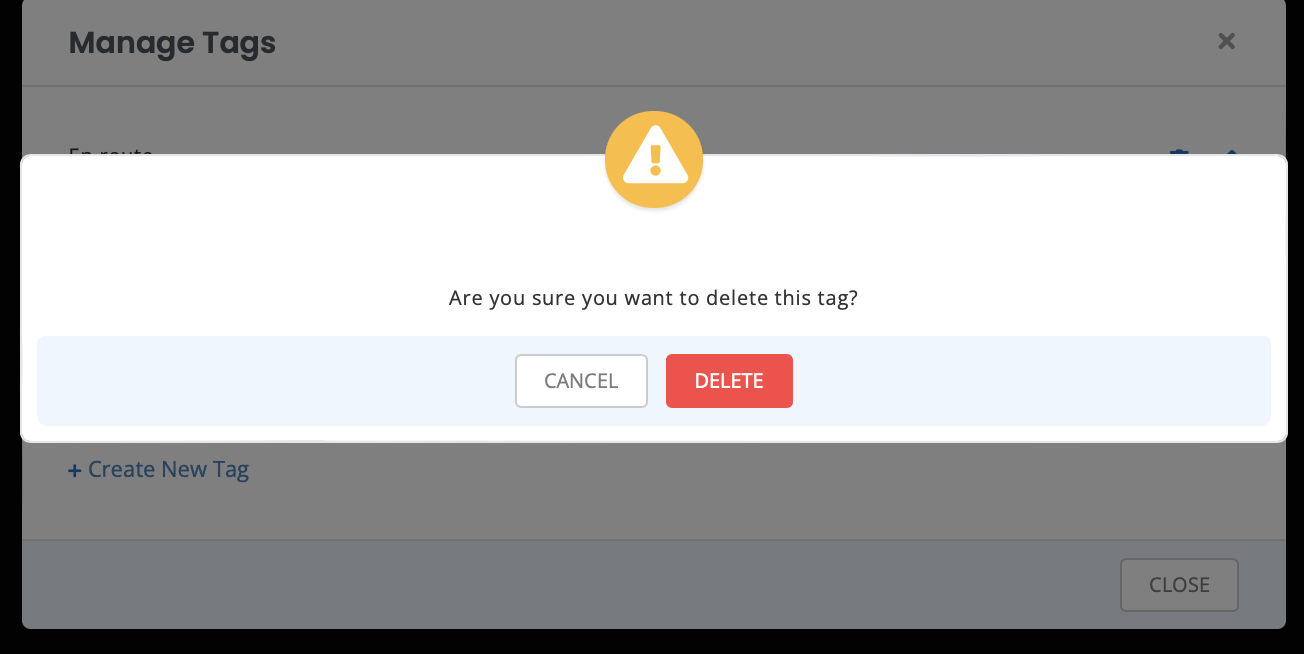
Once a tag has been deleted, all carts which had that tag will not have any assigned tag anymore.
4. Filter by tags
On the All Carts page, open the Tags dropdown and click on any one of the tags and the Carts list will be filtered only to show Carts with that tag. For example, here we have filtered all Carts with the tag: En Route
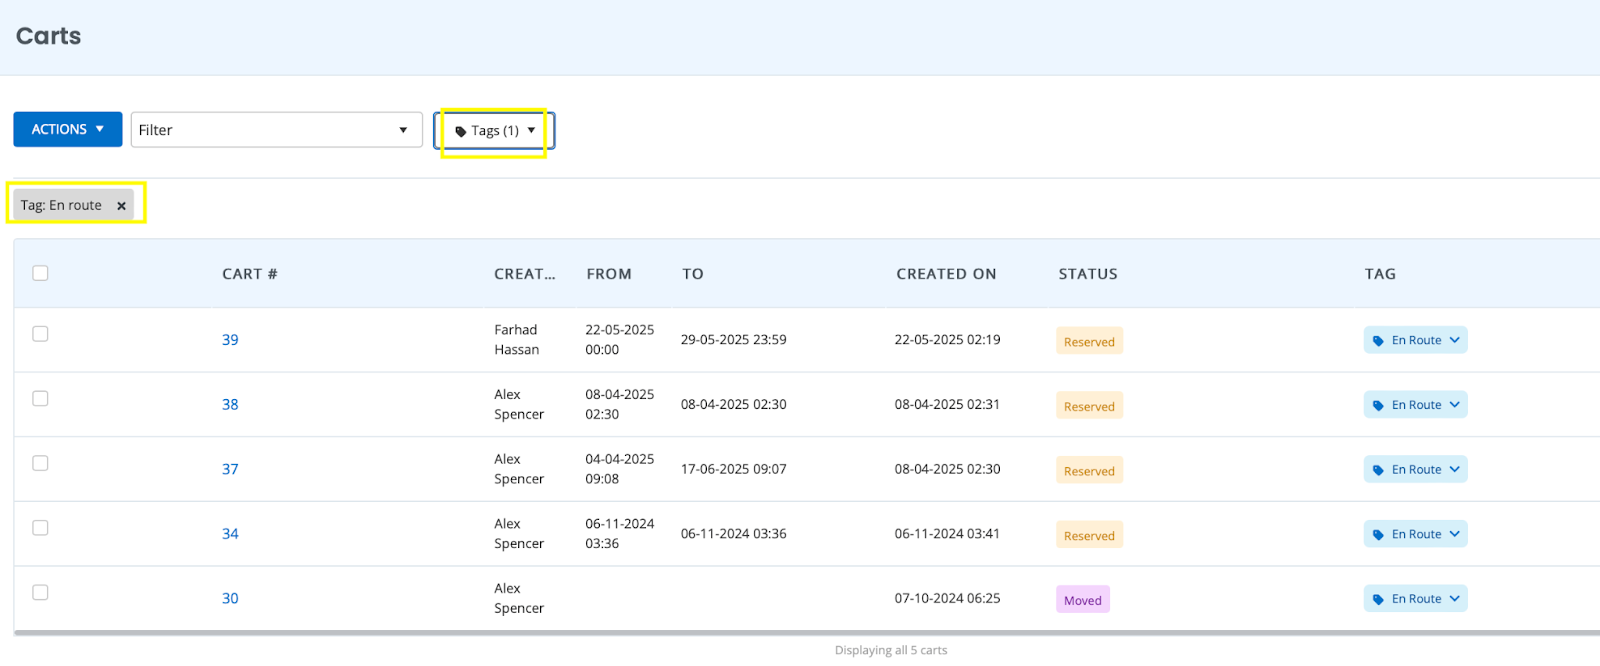
Clear the filter by clicking on the cancel button on the grey button.
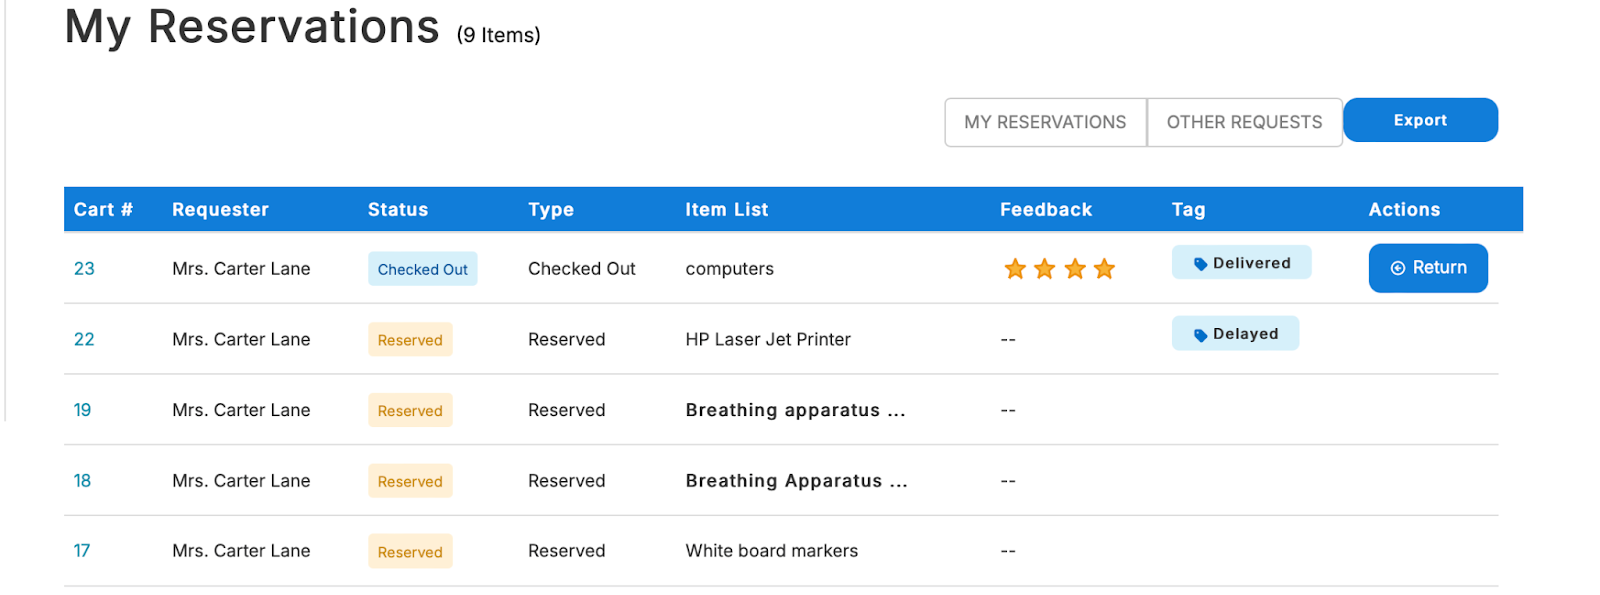
5. Cart tags in Request Portal
Requesters can now see Cart tags for their reserved Carts to quick visibility into reservation status.
Note: Requesters will not be able to change the tag from the portal but they will have visibility into which tag is assigned for a cart.
6. Cart tags in Fulfilment Center
Cart tags are also available in the Fulfilment Center. Add the Tags column for the Reservations tab and apply the Carts filter: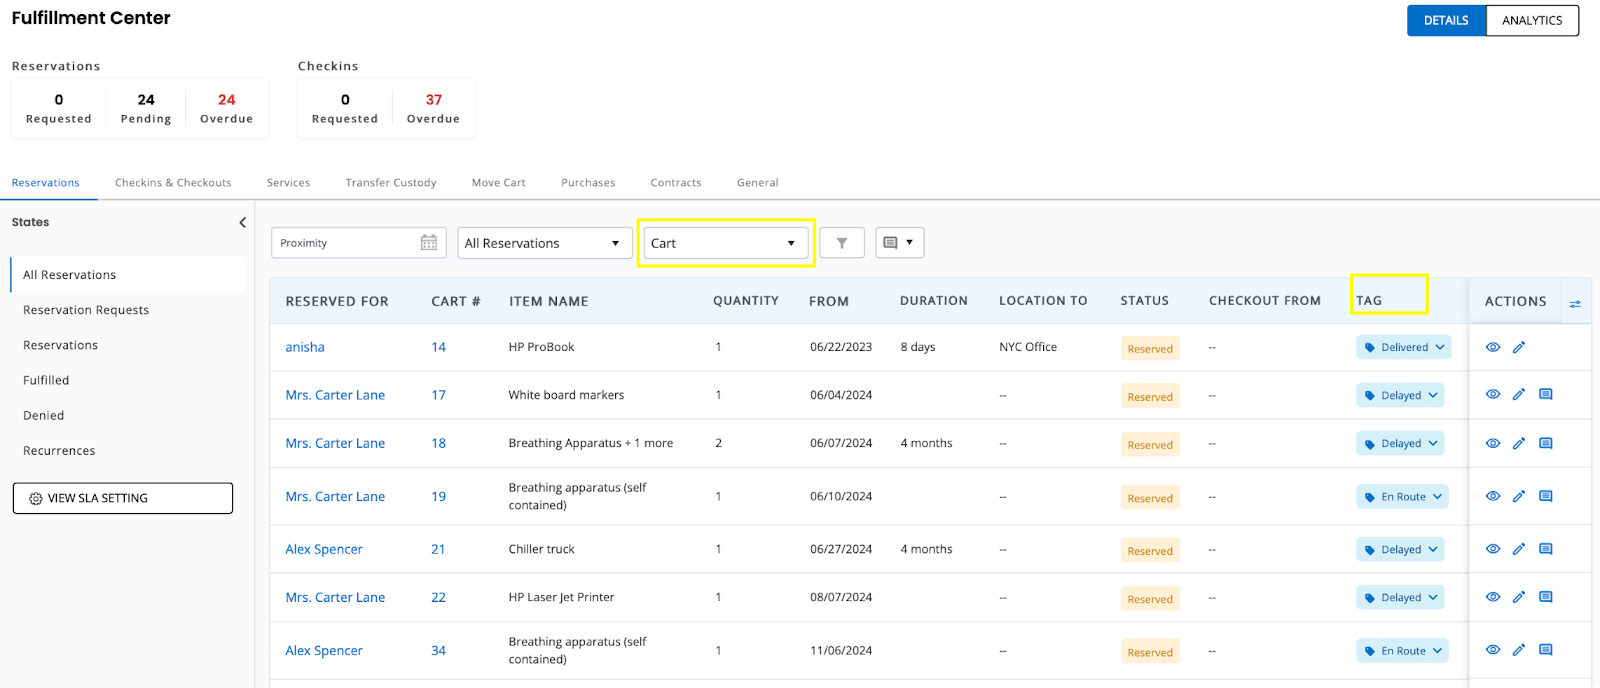
7. Emails and Alerts
Any time a tag assigned to a Cart is changed, an email will be sent out to the relevant users.

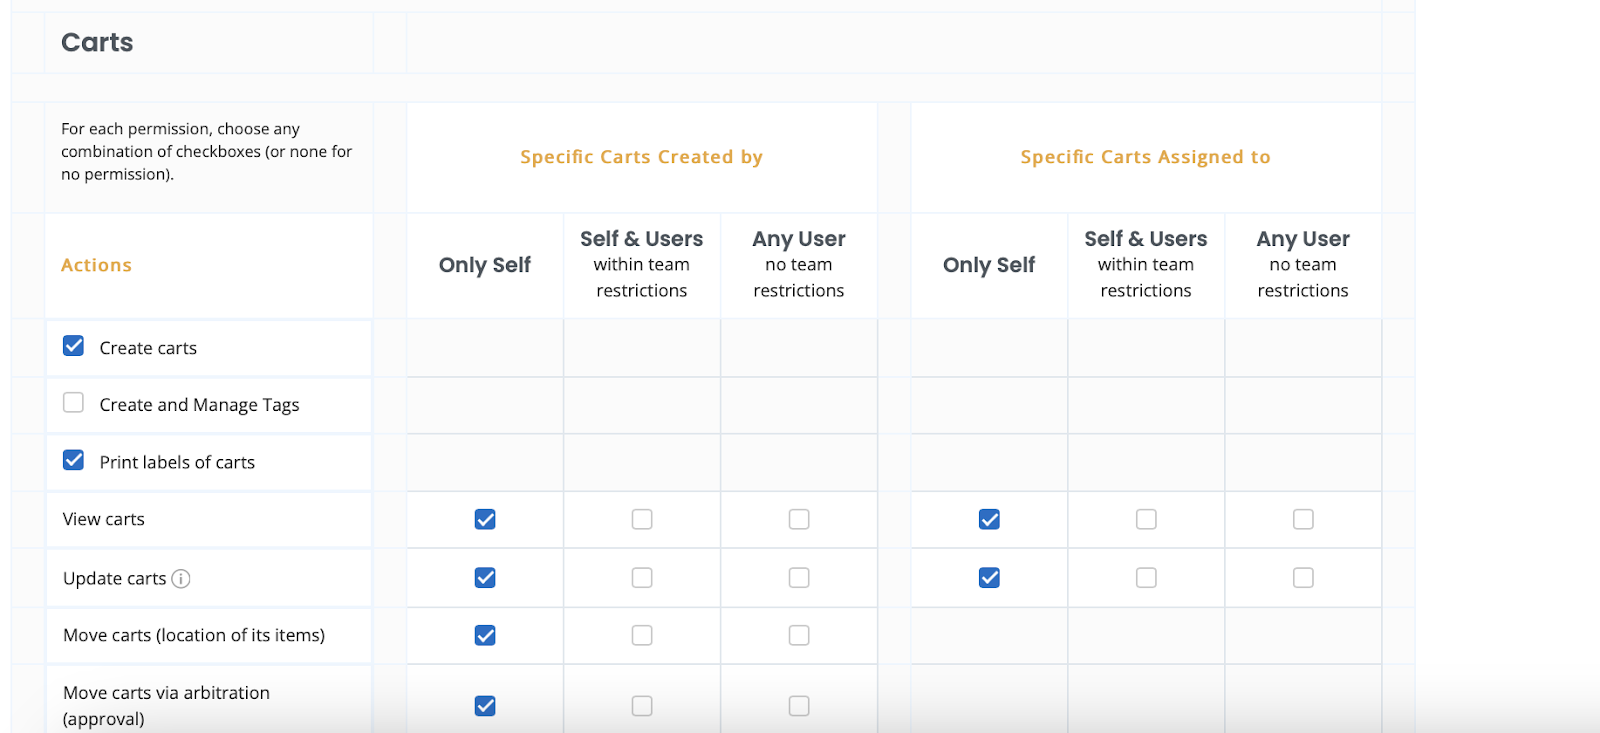
8. User permissions
Only account owners and admins can create and manage tags. However, all users can assign and change tags for Carts. This permission is set by default in your EZO account. When creating a new role, this permission is disabled by default you can enable it in case the role is required to create and update Cart tags.