AssetSonar enables IT managers and administrators to check items on the go with Quick Item Center. You can easily check-in and checkout items and reserve IT assets efficiently.
Here is how the Quick ITem Center can add value to your operations:
- Smoother operations: Useful to perform actions on fast-moving IT items, this module allows you to easily manage frequently-used assets, enhancing the overall operational efficiency.
- Easy navigation: Utilize the module’s intuitive search to take routine actions to manage all IT and non-IT assets from a centralized location.
- Take multiple actions: Quick Item Center allows you to take multiple actions on items, including checkout, check-in and reservation without having to switch screens multiple times.
Now let’s see this capability in action:
Reserving IT Assets
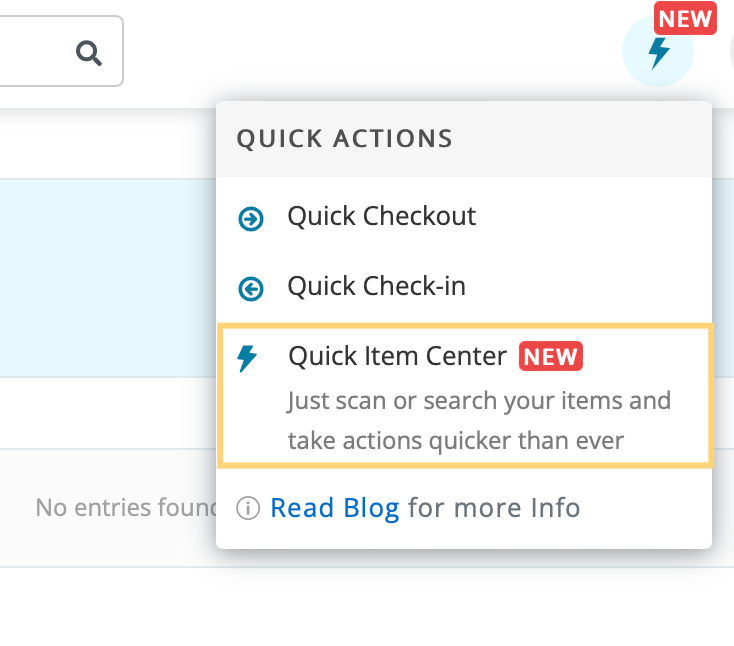
From the Quick Actions icon on the top navigation bar in AssetSonar, choose the ‘Quick Item Center’ option as shown below:
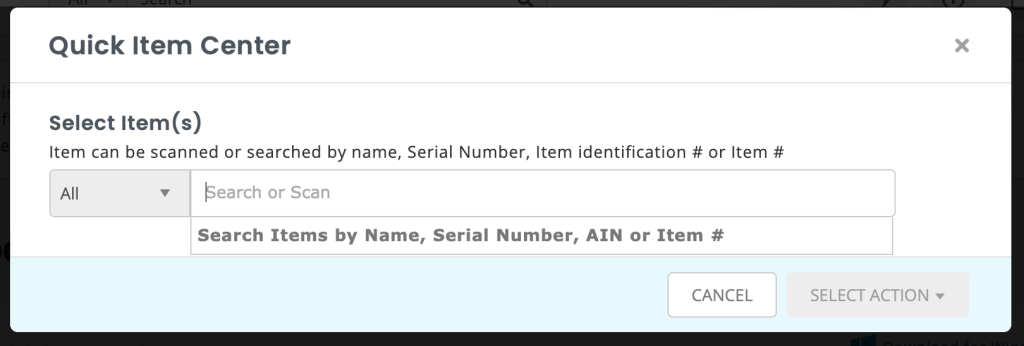
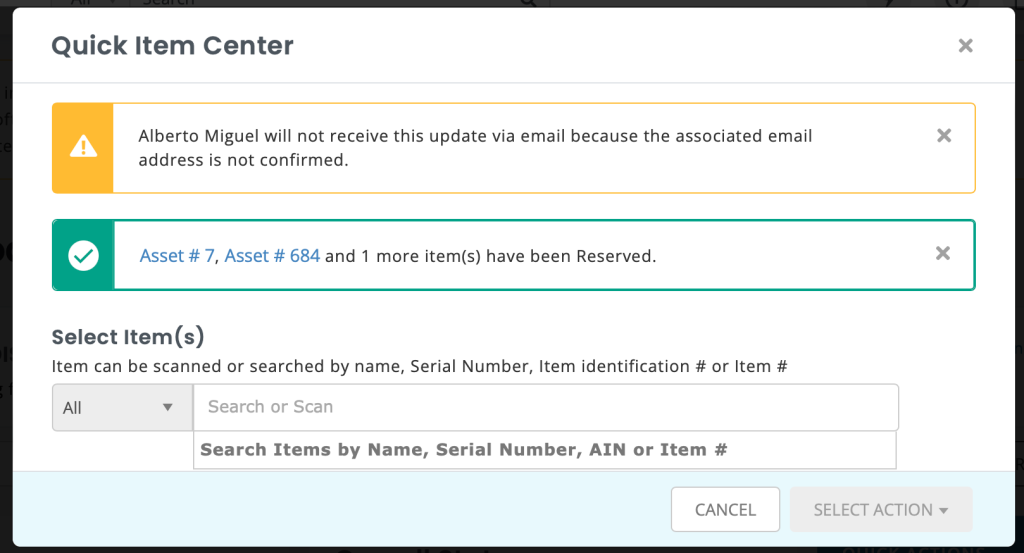
A new overlay will appear where you can do a quick search for the items by their name, identification number, or item number. You can also scan items here. Below is the snapshot of the overlay:
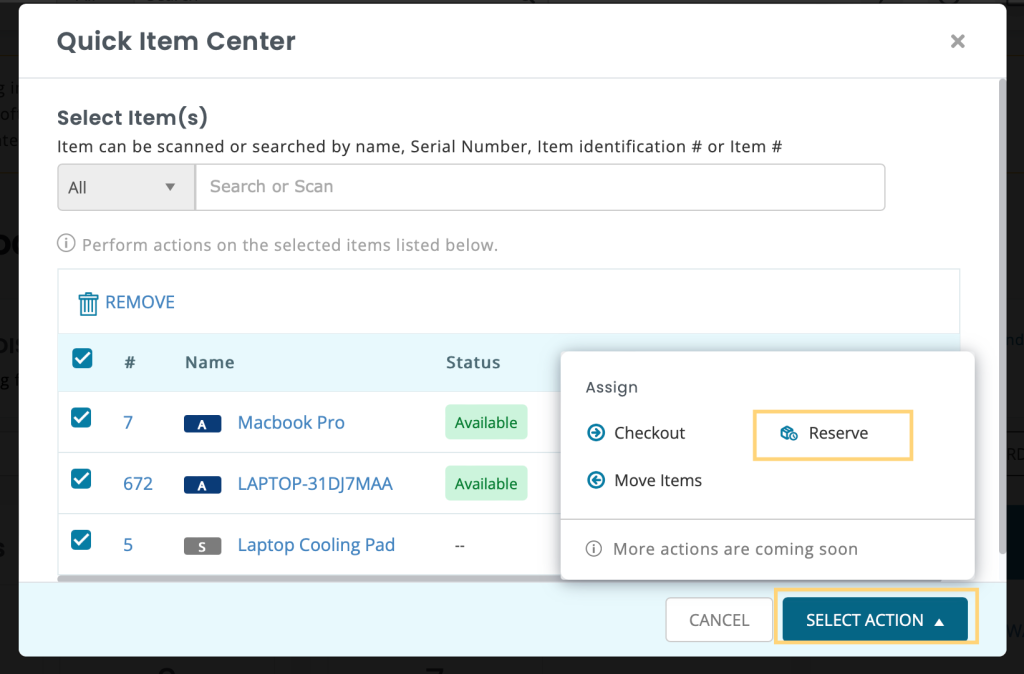
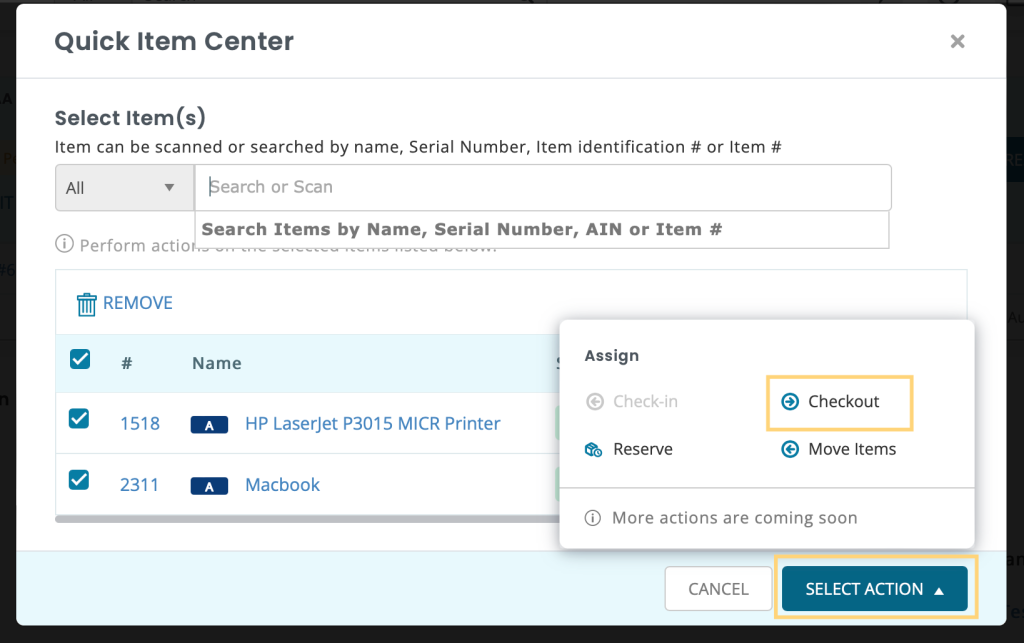
Once you have selected the items, click the ‘Select Action’ button and choose ‘Reserve’.
If you are selecting an inventory item, then choose the ‘Reserve From’ location as shown below:
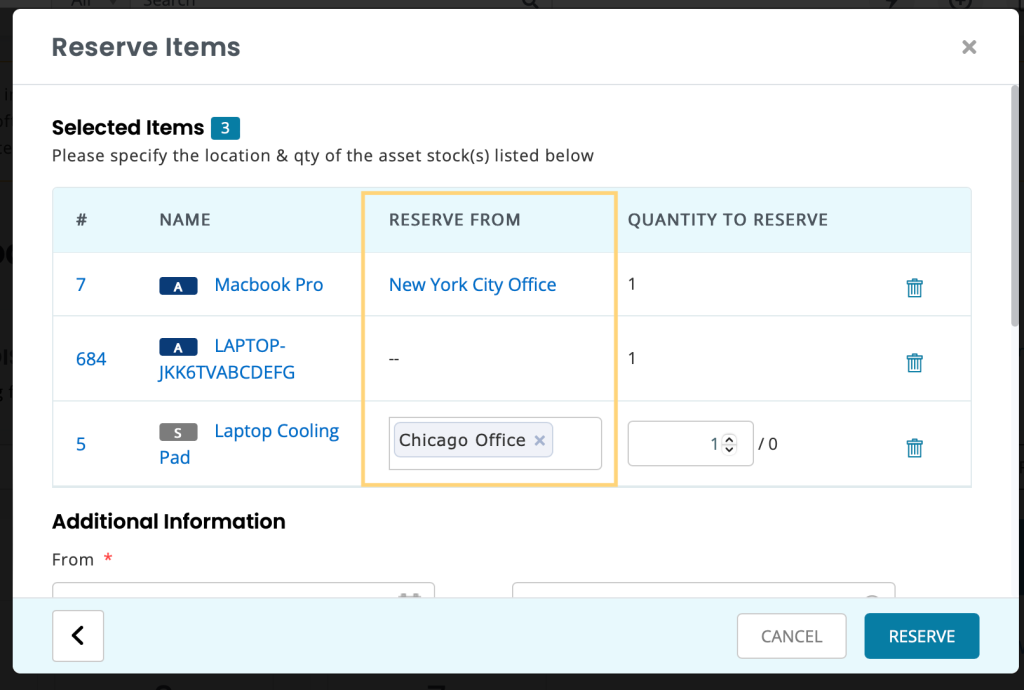
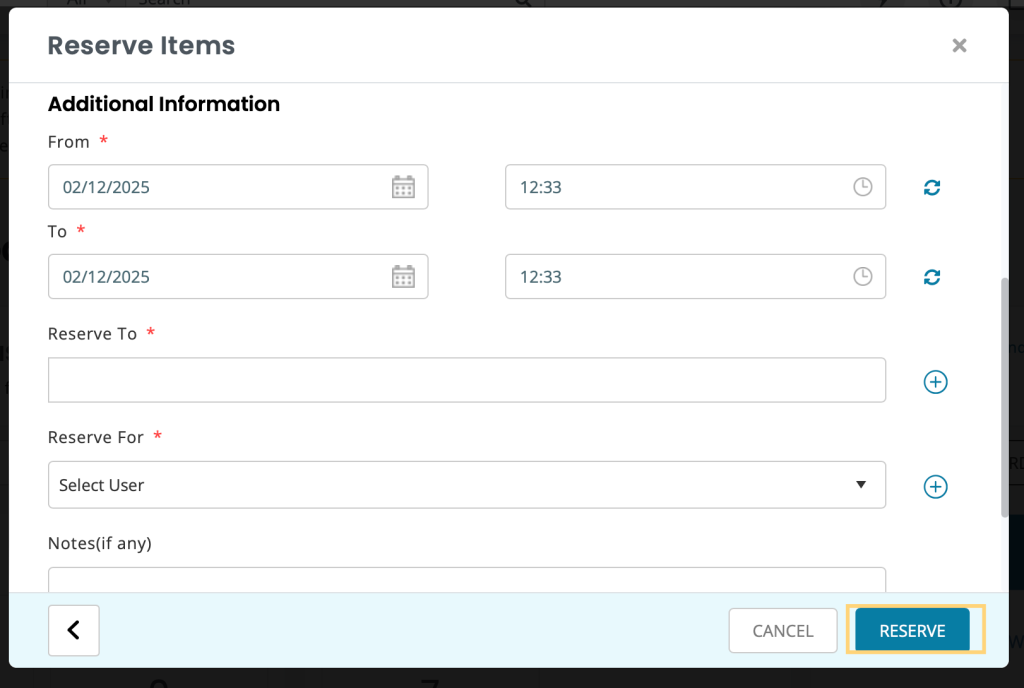
Fill out the additional information and click the ‘Reserve’ button once done.
If an item is not reserved, then the system will show you an error prompt and the item will remain selected.
Checking out items
Go to the Quick Item Center, select the item and click ‘Checkout’.
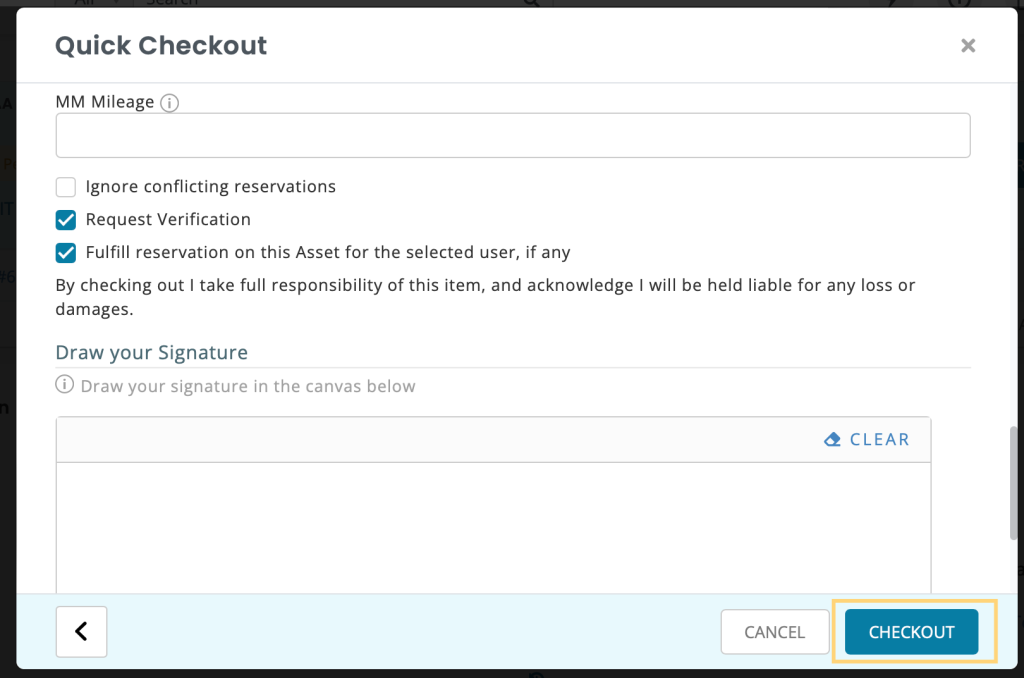
You will be taken to the following overlay where you can enter the checkout details:
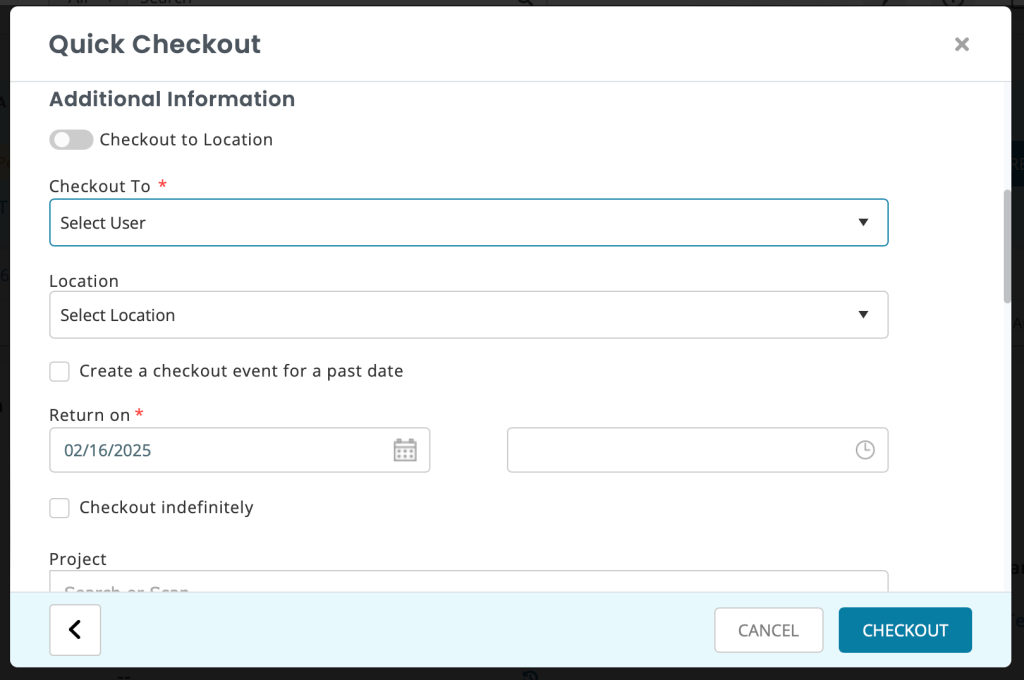
Once you have entered all the relevant details, click ‘Checkout’.
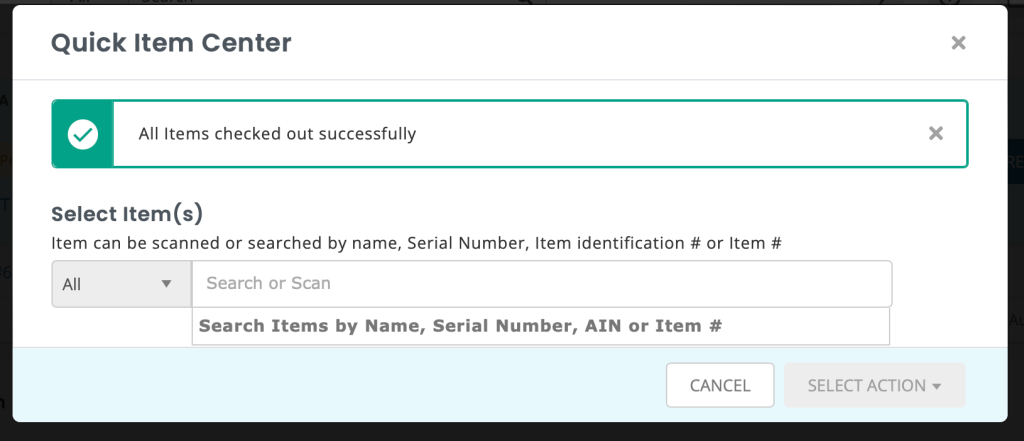
The following message will appear telling you that the item has been checked out:
Checking in items
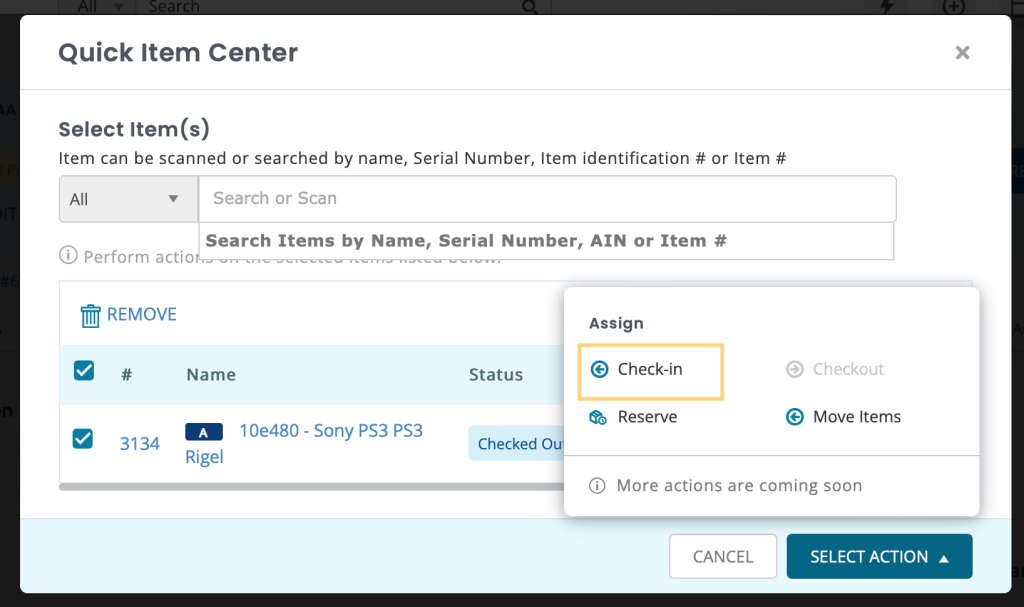
Go to the Quick Item Center, select the item that has been checked out and click ‘Check-in’.
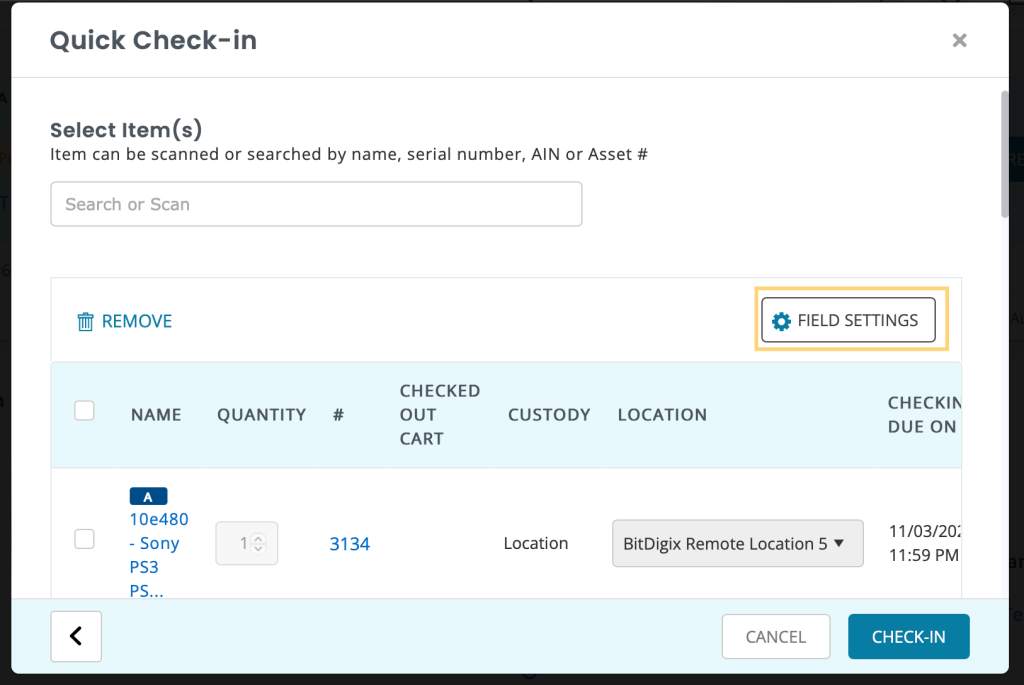
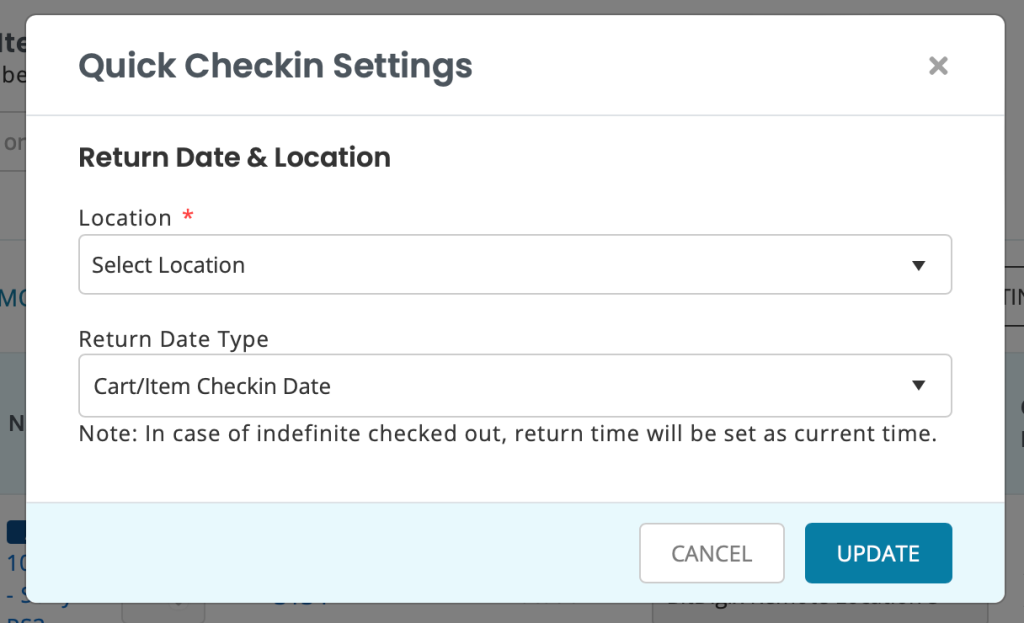
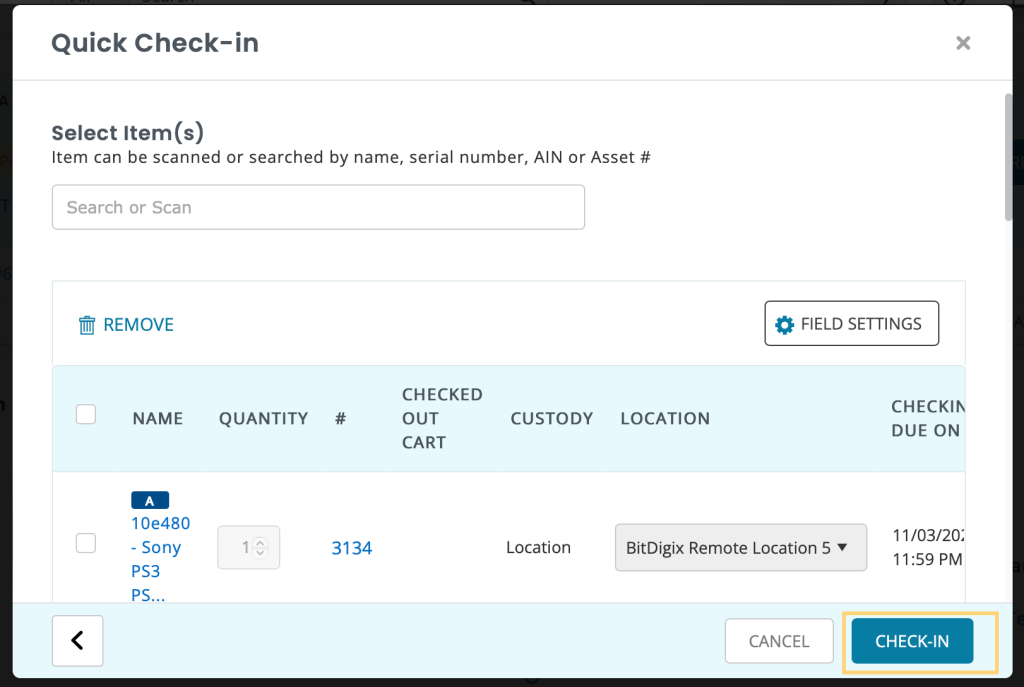
You will be taken to the following overlay where you can cross-check and add additional information regarding the check-in. To set the return time and location, click ‘Field Settings’.
Change the ‘Return Location Type’ and ‘Return Date Type’ to ‘Custom Location’ and ‘Custom Date’ if you want to choose a location and date. Once you have entered all the details, click ‘Update’.
Now click the ‘Check-in’ button on the main overlay.
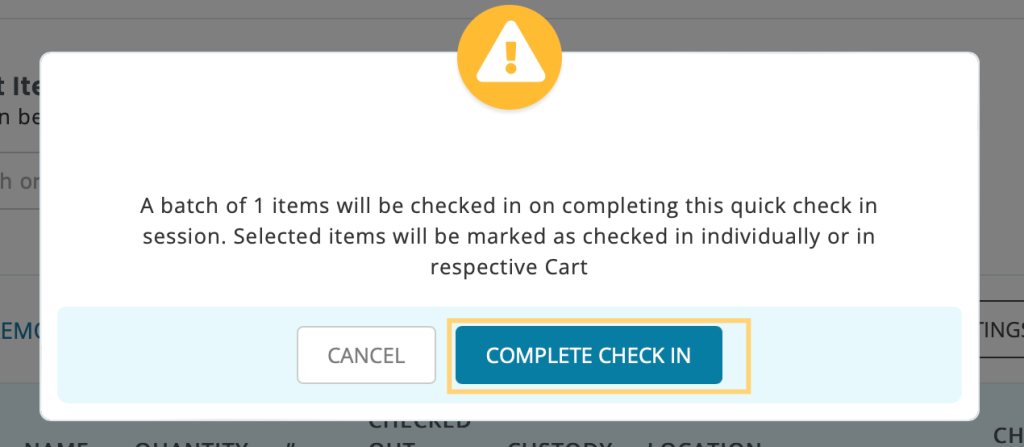
Click ‘Complete Check-in’.
The asset would be checked in successfully.
Moving items
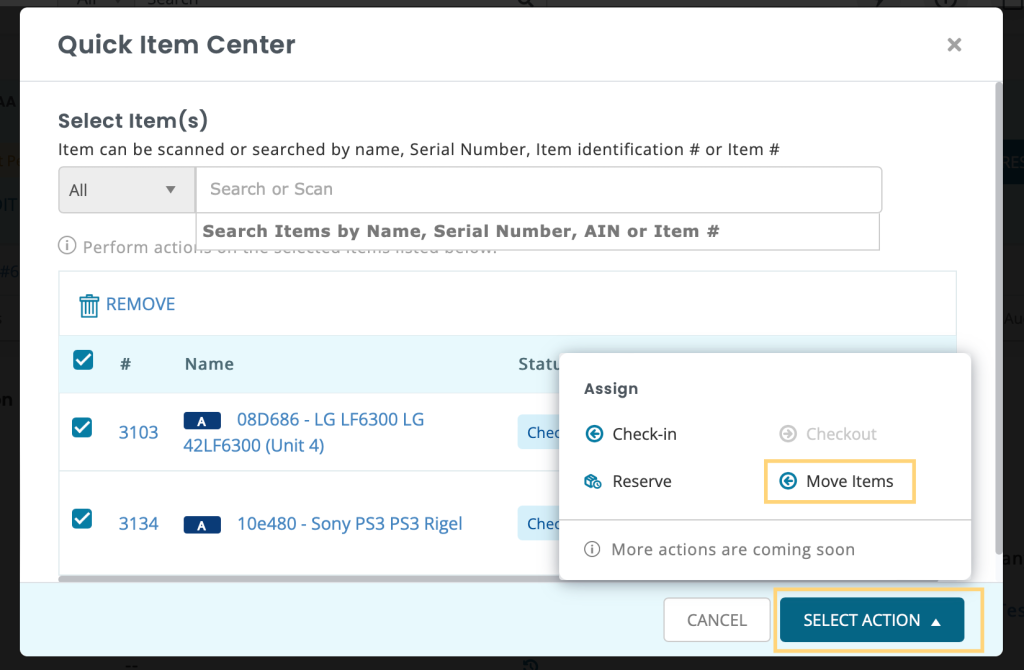
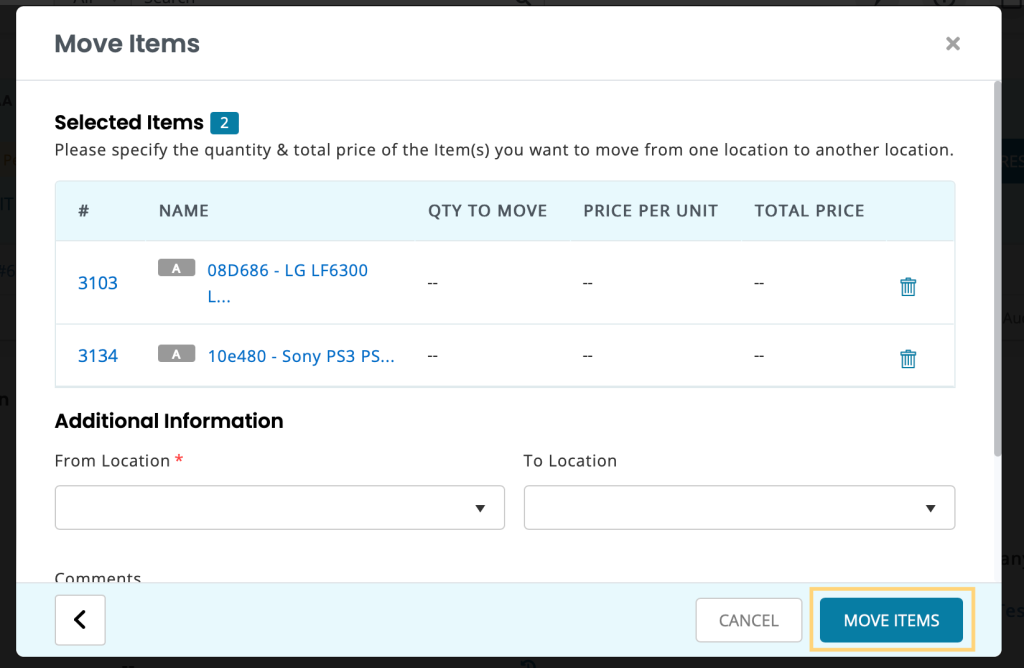
Select the Items you want to Move from one Location to another and then from the ‘Select Action’ button, choose ‘Move Items’.
Next add the ‘To’ and ‘From’ Location. Add comments if required and click ‘Move Items’.
Your items will be successfully moved.
